Voice
 Chris Oguntolu42k downloads
Listen to your notes as natural speech with text-to-speech (TTS). Read notes aloud, play them like an audiobook in the voice player, download MP3 audio and listen offline hands-free on mobile.
- Overview
- Scorecard
- Updates65
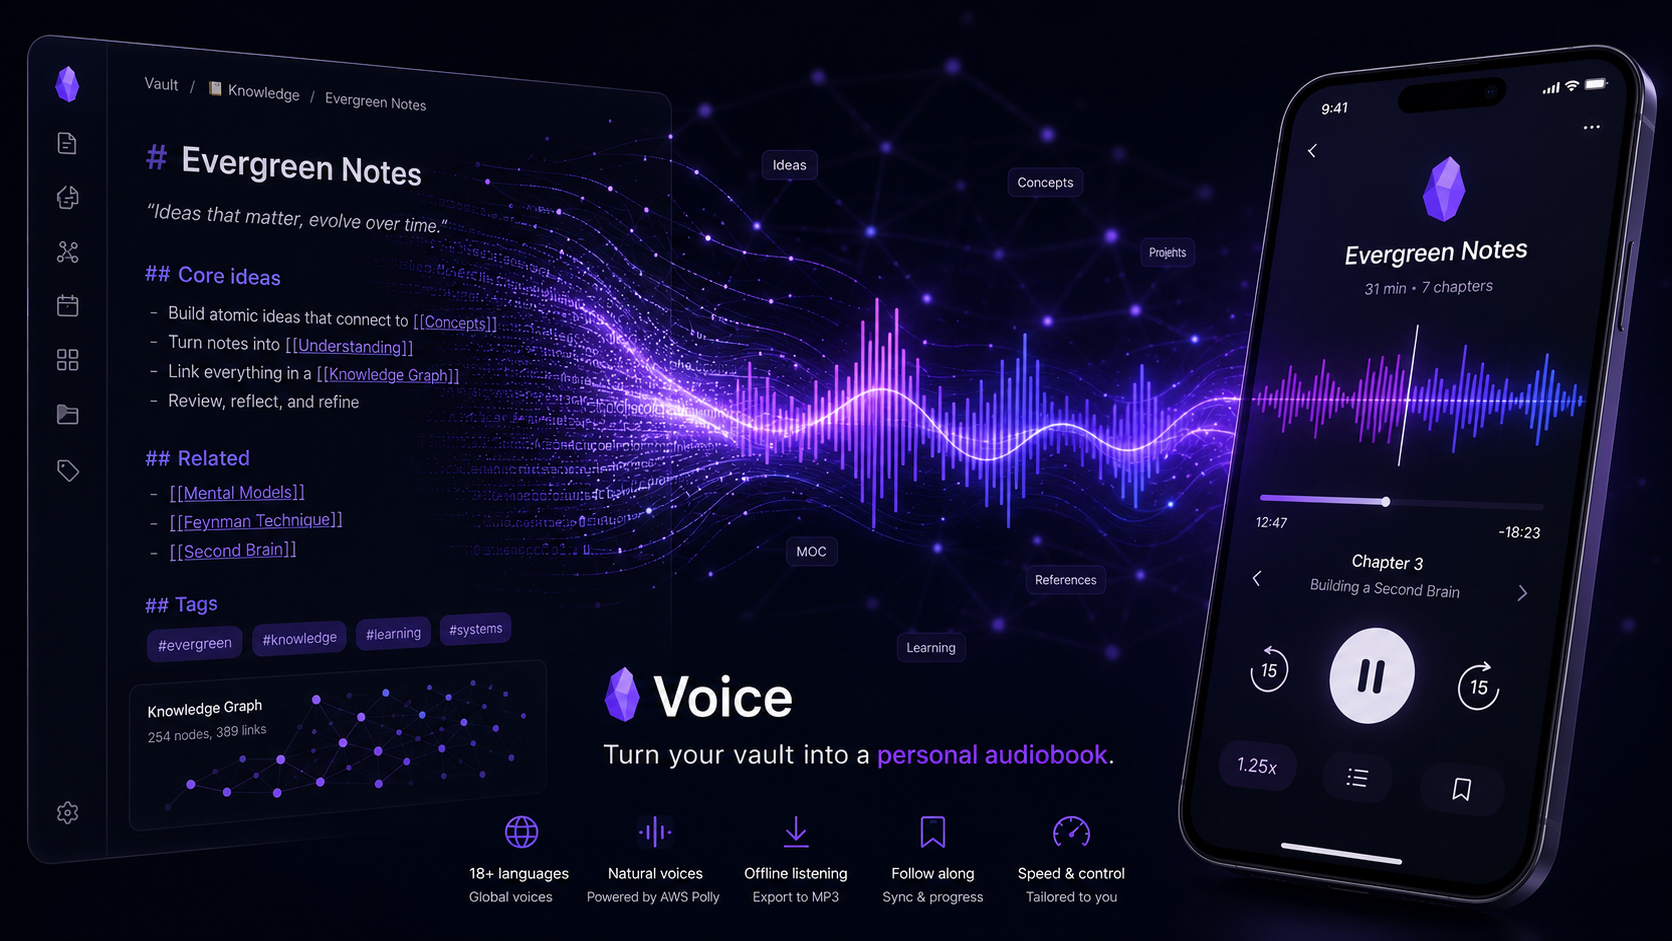
Turn every note into a mobile-friendly, audiobook-like experience. The Obsidian Voice Plugin reads your notes aloud in natural, lifelike speech — using the text-to-speech provider you already have. It supports all the major engines — AWS Polly, ElevenLabs, OpenAI, Google Cloud, Azure Speech, and MiniMax — plus any OpenAI-compatible server such as OpenRouter or a self-hosted Kokoro — so you can listen with whichever one you prefer. Listen with a dedicated player, jump between notes like chapters, change the speed on the fly, and save audio offline — with your credentials kept private in your own account.
Table of Contents
- Highlights
- The Voice Player
- Feature Tour
- Settings
- Keyboard Shortcuts
- Bring Your Own Provider
- Getting Started
- Connecting a Provider
- Troubleshooting & Help
- Support
Highlights
- A real audiobook player — open the Voice player, see your notes as chapters, and play, skip, and repeat just like a podcast app.
- Bring your own provider — Voice supports all the major text-to-speech engines (AWS Polly, ElevenLabs, OpenAI, Google Cloud, Azure Speech, and MiniMax) and any OpenAI-compatible server, so you can listen with whichever one you already use. Every feature works the same on all of them.
- Listen in seconds — turn any note into lifelike speech straight from the ribbon, a command, or the player.
- Designed for every device — the same experience on desktop, iOS, and Android, with a touch-friendly mobile player and control bar.
- Own your audio — download MP3 files, auto-embed them into your note, and keep an offline archive.
- Stay in control — adjust tempo on the fly, jump forward or back, repeat a chapter or the whole list, and watch synthesis progress in real time.
- Stay private — your credentials live in your own provider account; nothing is routed through a third party.
The Voice Player
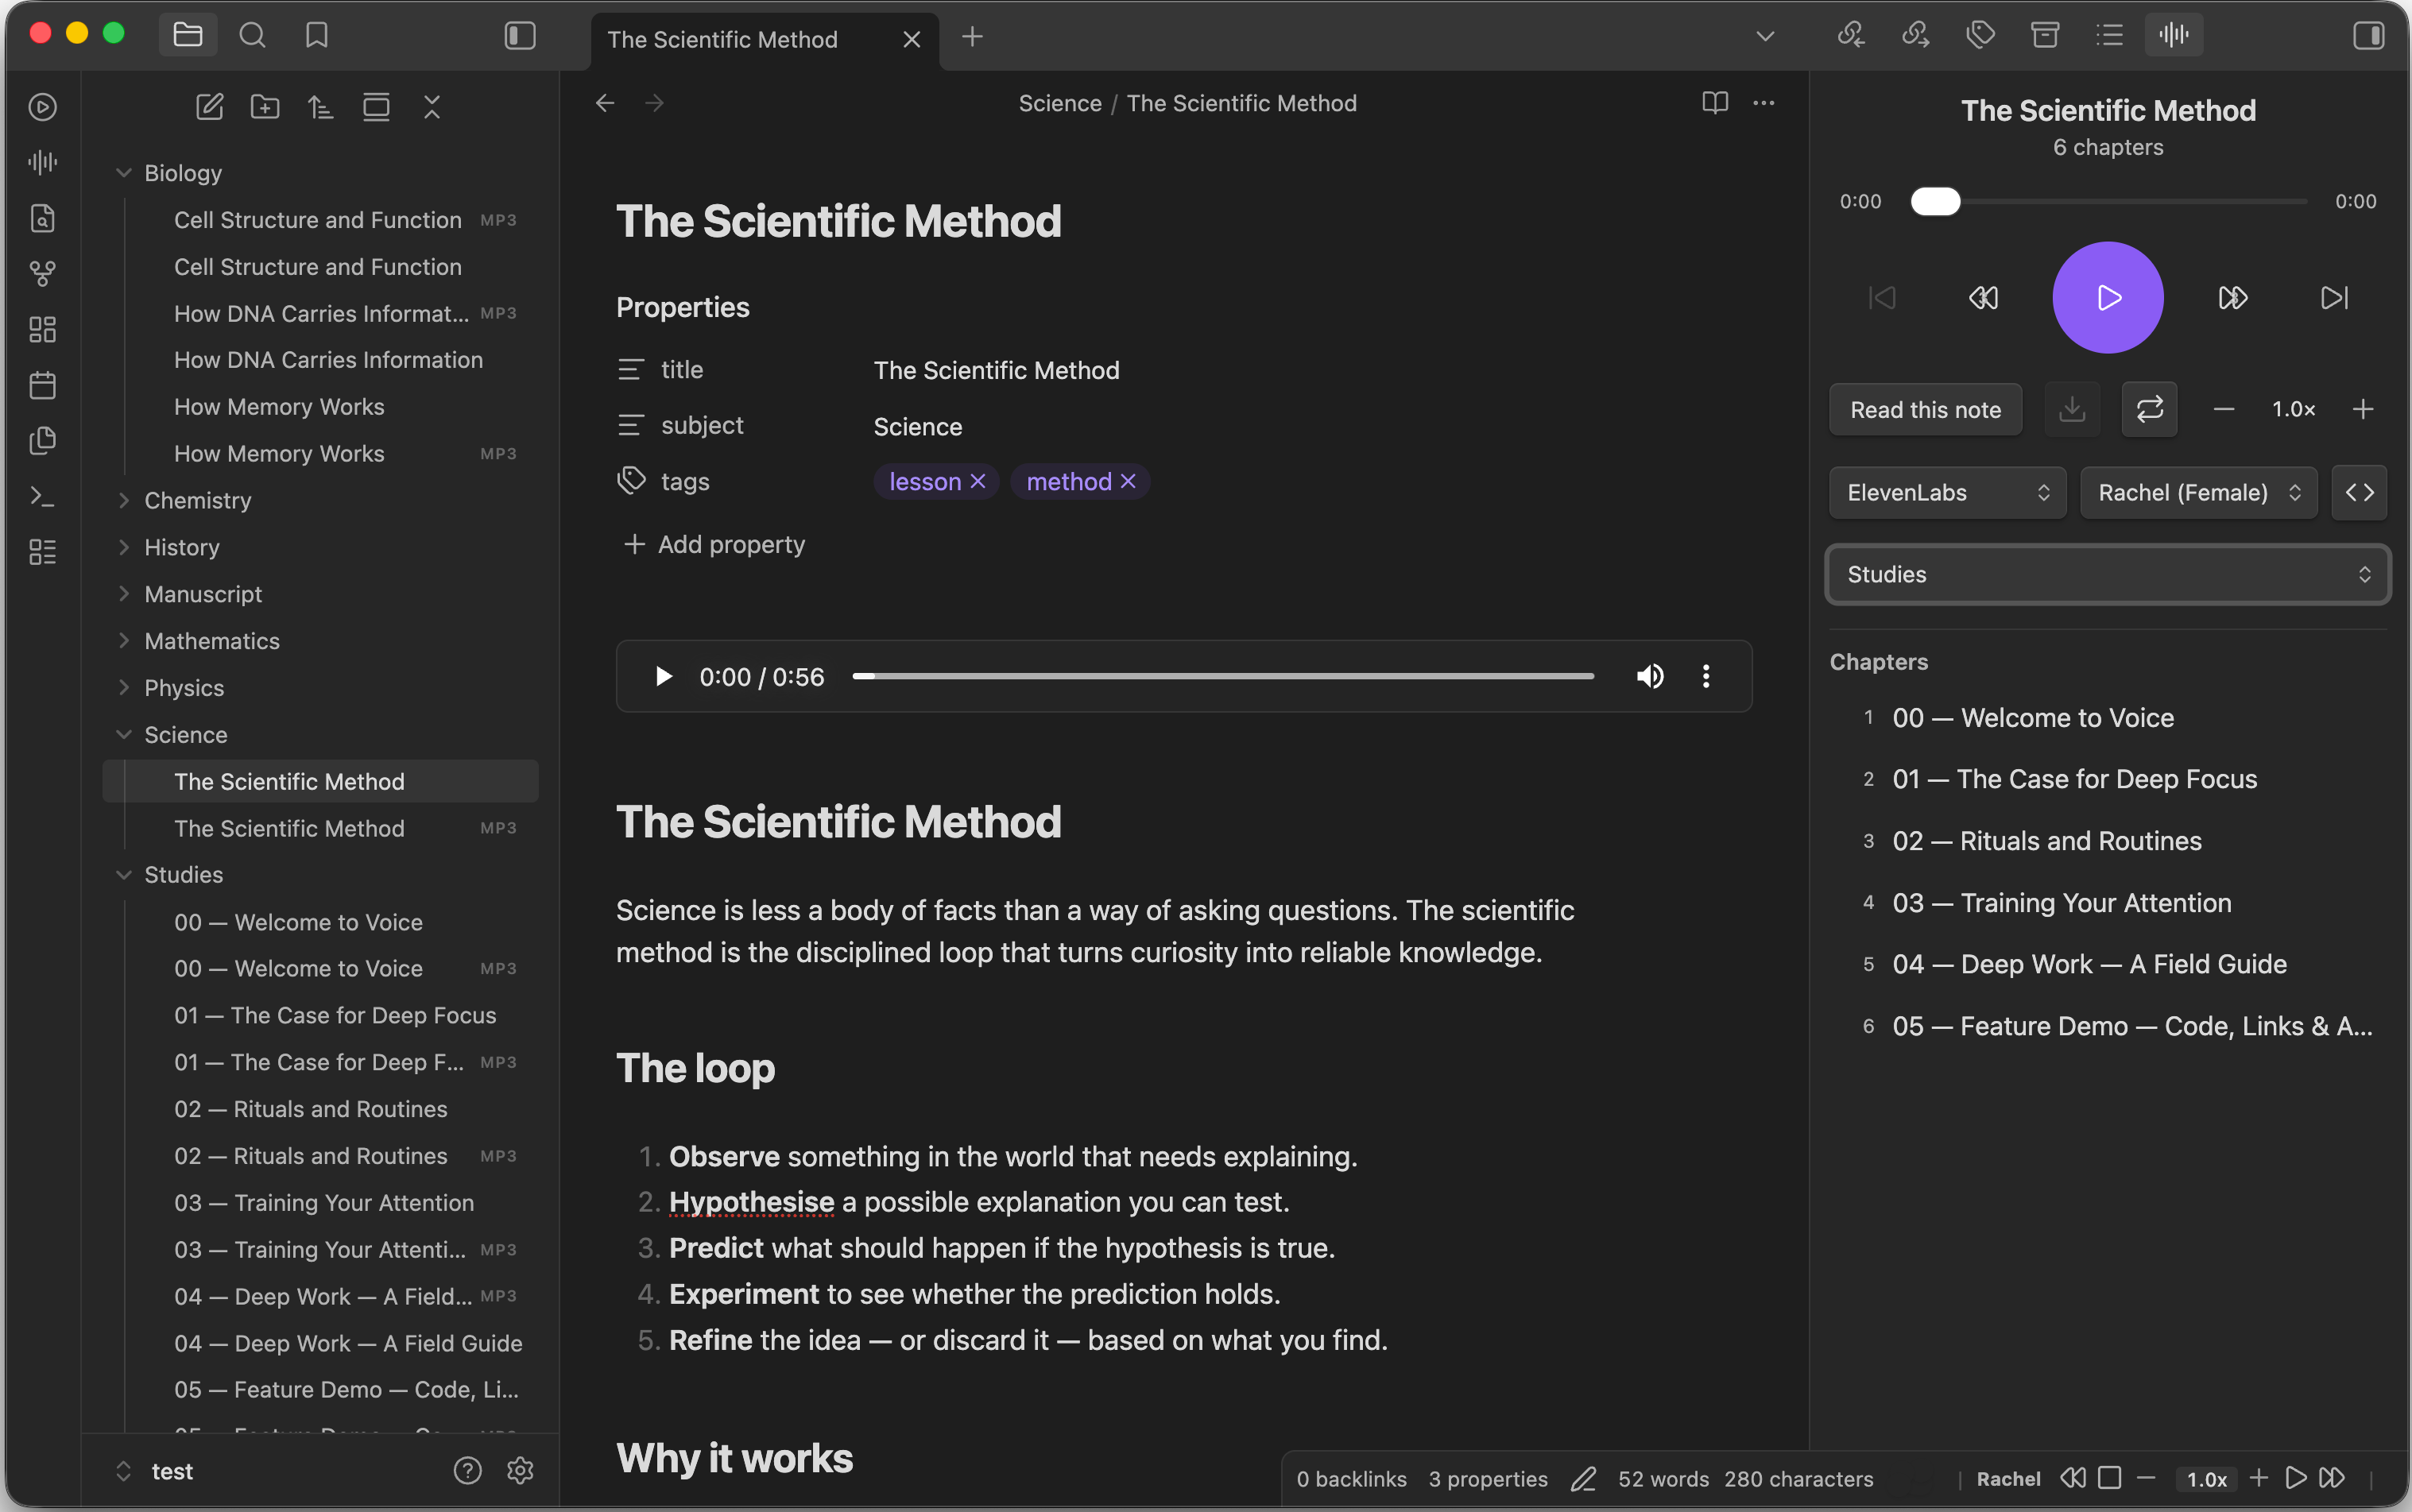
The Voice player is the heart of the plugin: an audiobook-style pane that turns your notes into chapters you can listen to back to back. It's docked in the right sidebar (next to Backlinks and Outline) right after install — open it from the audio-waveform ribbon icon — and on mobile it opens full-screen.
Controls at a glance
Every control is a single button. Some do two things: a quick tap and a press & hold (~1.5 s; right-click works too on desktop). A ring fills around a button while you hold it.
| Button | Tap | Press & hold |
|---|---|---|
| ▶️ Play | Play, pause, or cancel a synthesis that's running | Regenerate the note from scratch with your current voice & settings |
| ⏮ ⏭ Prev / next | Jump to the previous / next chapter | — |
| ⏪ ⏩ Rewind / forward | Jump back / ahead by your interval (default 3 s) | — |
| 🔁 Repeat | Cycle off → repeat one → repeat all | — |
| − / + Speed | Slow down / speed up playback (0.5×–2.0×) | — |
| ⬇️ Save (💾 when a default folder is set) | Save the MP3 now — next to the note, or into your default folder | Open the folder picker to save elsewhere or set a default |
| 📂 Folder | Save into a folder you pick, in one click | — |
</> Read code blocks |
Toggle reading fenced code aloud | — |
Aa Spell out acronyms |
Toggle reading NASA, API letter by letter |
— |
| 🔗 Skip website URLs | Toggle dropping URLs (link labels are kept) | — |
| 📎 Embed in note | Toggle adding an audio player to the note when you save | — |
| ⋮ Track menu | Open Move / Rename / Delete for that chapter | — |
Each toggle (</> Aa 🔗 📎) highlights when it's on, so you can see your reading options at a glance — no trip to settings.
Jumping between notes? By default a tap on ▶️ plays the note you're viewing — its already-saved MP3 if one exists, otherwise a fresh render — so you don't re-generate audio you already saved. Turn this off with Play the note's saved audio in settings.
Above the chapter list sit the provider and voice dropdowns (switch engine or voice instantly) and a folder dropdown that points the chapter list at any folder in your vault that contains audio.
- Chapters from your folder — every MP3 in the selected folder appears as a numbered chapter; the one you're hearing is highlighted. The folder list follows the note you're viewing by default — turn off Folder list follows note in settings to keep your chosen folder while you browse.
- Manage tracks — the ⋮ action bar appears right over the track, so it's clear which file it acts on. Move opens the folder picker for that file, Rename edits it in place (
.mp3kept, embeds updated), and Delete asks for a quick confirmation.
On mobile, the same player opens as a full-screen pane, optimized for touch:
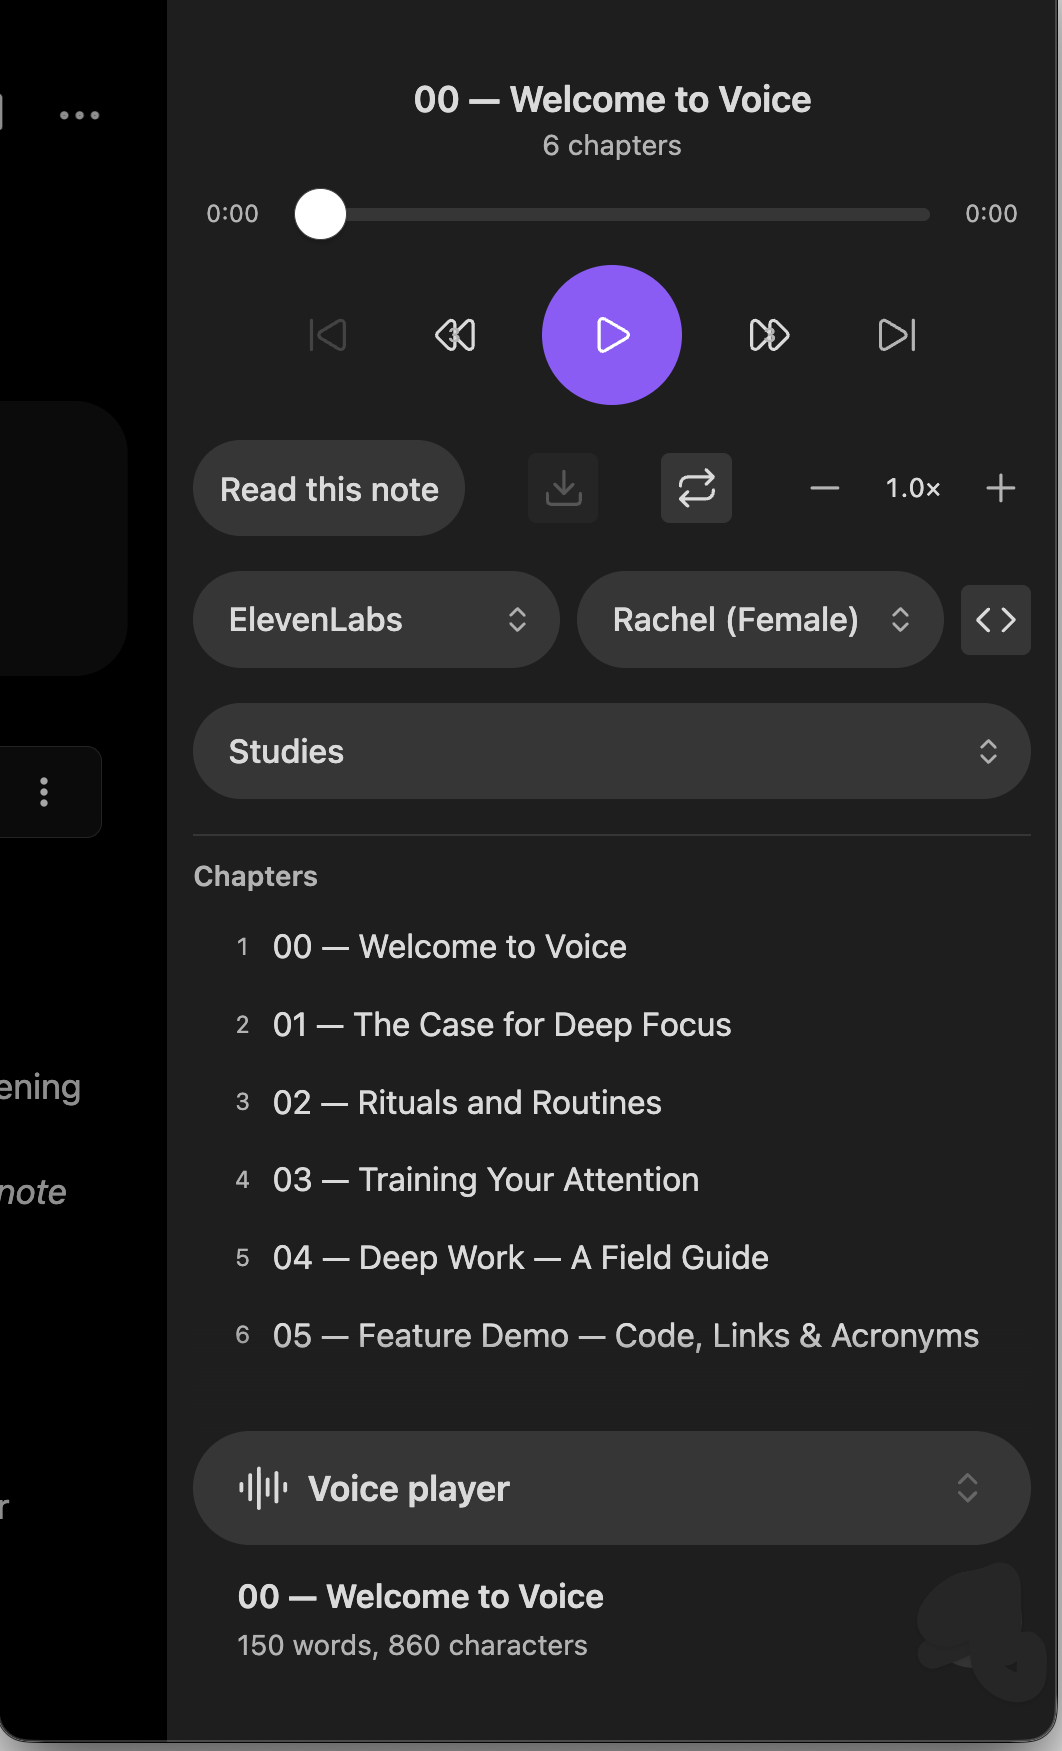
Tip: Open the player from the Open Voice player ribbon icon (the audio-waveform icon) or the Open the player. command.
Feature Tour
Listen Instantly
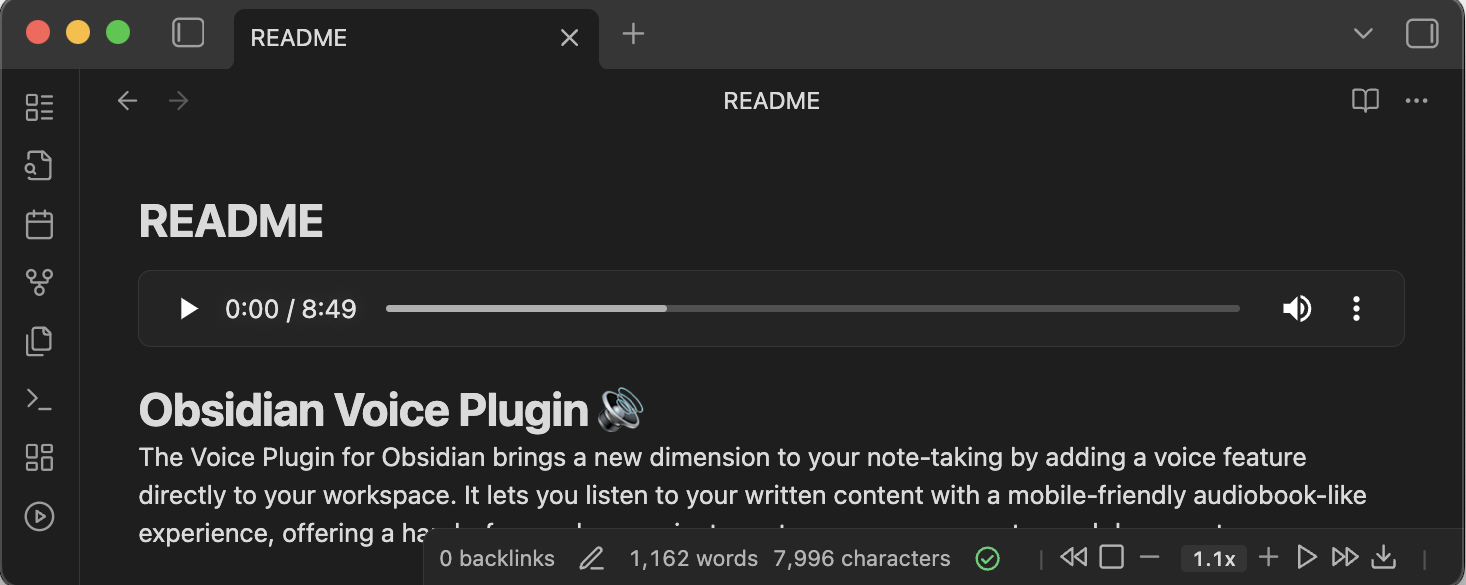
Two ribbon icons on the left get you going: Voice read text (▶️) starts reading the active note, and Open Voice player (the audio-waveform icon) opens the player.
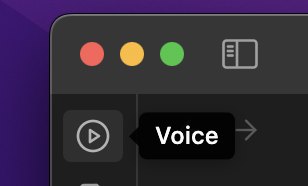
Default playback reads the entire note. In Source mode, select text first and only your selection is read.
The Voice read text icon shows a refresh indicator while synthesizing and flips to a pause icon when playback is ready.
Save & Play Audio Offline
The save button (the download arrow ⬇, in the player, the status bar, and the mobile bar) writes the current audio to an MP3, embeds it right after the front matter, and adds it to the chapter list — so you can replay it anytime, offline. It has two gestures:
- 👆 Tap → save now. By default the MP3 lands next to your note. If you've set a default folder, every tap saves there instead.
- ✋ Press and hold ~1.5 seconds (or right-click on desktop) → open the folder picker to save somewhere else just this once — or to set your default folder.
In the Voice player there's also a dedicated folder button (📂, next to the download arrow): one click opens the folder picker and saves to the folder you choose — a quick Save to custom folder without the long press.
Set a default folder (optional). In the folder picker, every folder row has a pin 📌 and a star ⭐:
- 📌 Pin → make this folder your default. From now on a quick tap of the save button always saves here. Only one default at a time — tap the pin again to clear it (back to “next to the note”). The default is shown first and highlighted.
- ⭐ Star → keep a folder near the top as a favorite. Favorites and the default are managed independently.
- Start typing to filter the list, or to create a new folder on the spot.
Example. You keep recordings in
Media/Audio. Hold the save button, then tap the pin 📌 next toMedia/Audio. Done — now a single tap of the save button always stores there. Need to drop one file elsewhere? Hold again and tap a different folder; your default stays put.
Save or move, your choice. When you pick a folder in the picker:
- If the audio hasn't been saved yet, it's saved into that folder.
- If you loaded an existing recording (a chapter in the player), that file is moved into the folder — no duplicate, and its embeds are updated automatically.
- If a file with the same name is already there, a prompt lets you Replace, Save as new (a different name), or Cancel.
Tip: When a default folder is set, the save button shows a floppy-disk icon (💾) — in the player, the status bar, and the mobile bar — so you can tell at a glance that a tap saves into your default folder rather than next to the note.
- Prefer a hands-off workflow? Turn on Save automatically in settings to save and embed after every playback (it uses your default folder too).
- Cached audio prevents repeat synthesis costs until your note content changes.
Precision Playback Controls
Track synthesis progress with the real-time status bar indicator until playback is ready.

Use rewind / fast-forward and on-the-fly speed changes for quick navigation — from the player or the status bar.
Set how far rewind and fast-forward jump — configure each independently from 1 to 60 seconds in settings (defaults to 3 seconds).
Speed on the fly — nudge playback with the player's − / + control (0.5×–2.0×) or from the status bar; hotkeys can also jump to preset tempos.

Personalize the Voice
Pick your voice in the player — choose from dozens of natural voices across many languages: American, British, German, French, Spanish, Italian, Polish, Dutch, Portuguese, Brazilian Portuguese, Catalan, Swedish, Danish, Norwegian, Finnish, Japanese, Korean, Hindi, Mandarin, and more.
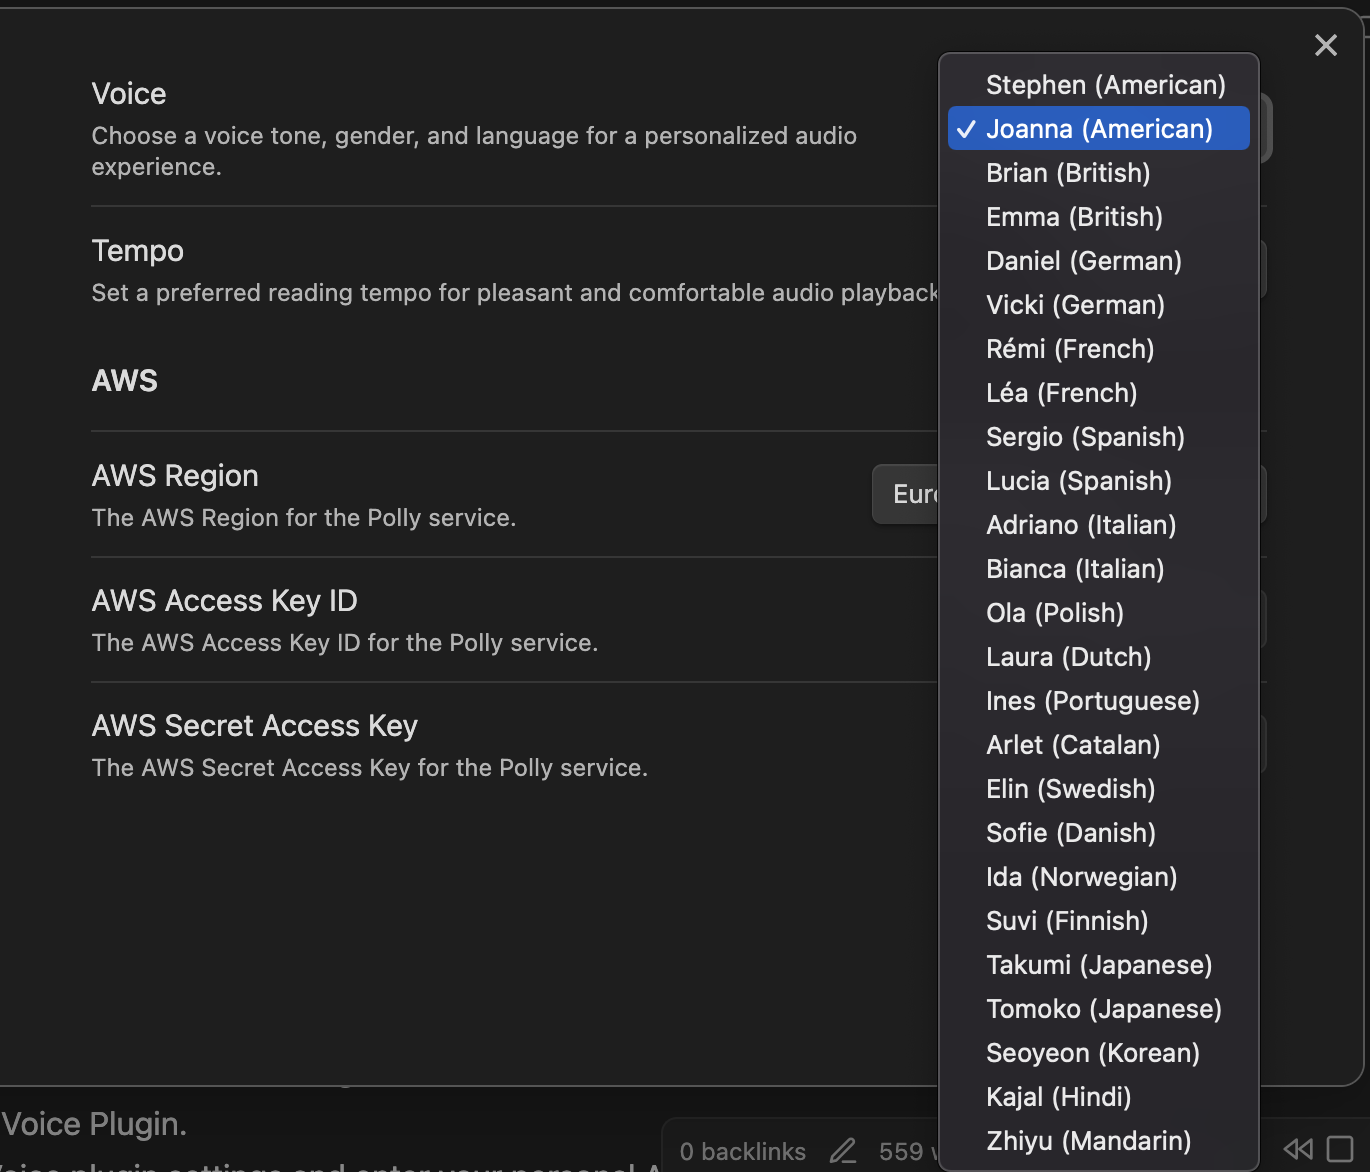
Switch voices instantly from the player's voice dropdown or the status bar, or use the Switch to the next speaker. command to cycle through them hands-free.
Azure: every voice, grouped by language. Press Test Credentials in settings and Voice loads your account's full Azure neural catalog (hundreds of voices), organized by language in the picker — no more being limited to a handful.
Fine-Tune What Gets Spoken
Flip these as one-click icon toggles in the Voice player — they light up when on. All are off by default and apply to every provider:
</>Read code blocks — read fenced code blocks (Mermaid, YAML, and other code) aloud. Off announces them with a short placeholder instead.AaSpell out acronyms — read uppercase words likeNASAorAPIletter by letter. Off pronounces them naturally.- 🔗 Skip website URLs — strip website URLs (
https://…andwww.…) from the spoken output while keeping the surrounding text and link labels intact. Off reads them as written. - 📎 Embed MP3 in note — add an audio player to the note whenever you save its MP3. Off saves the file without embedding.
Tip: prefer a hands-off archive? Turn on Save automatically in settings to save and embed after every playback — see Save & Play Audio Offline.
Built for Mobile
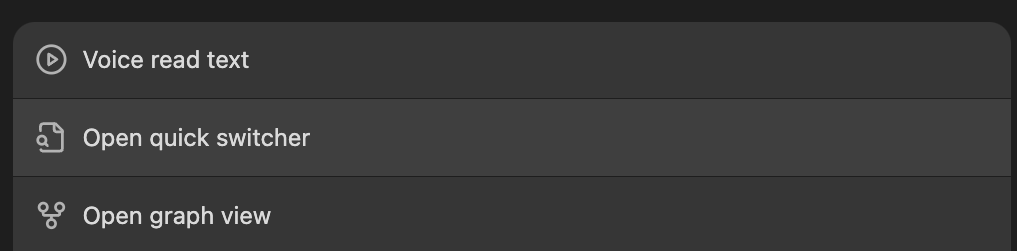
On the Obsidian mobile app, start playback or open the player from the dedicated Voice read text and Open Voice player menu items.
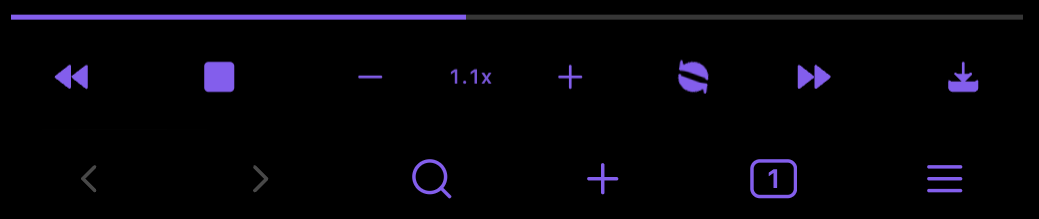
Control playback with the touch-friendly mobile control bar — play / pause, rewind, fast-forward, voice switching, tempo, and a progress indicator. (It stays out of the way while the full player is open.)
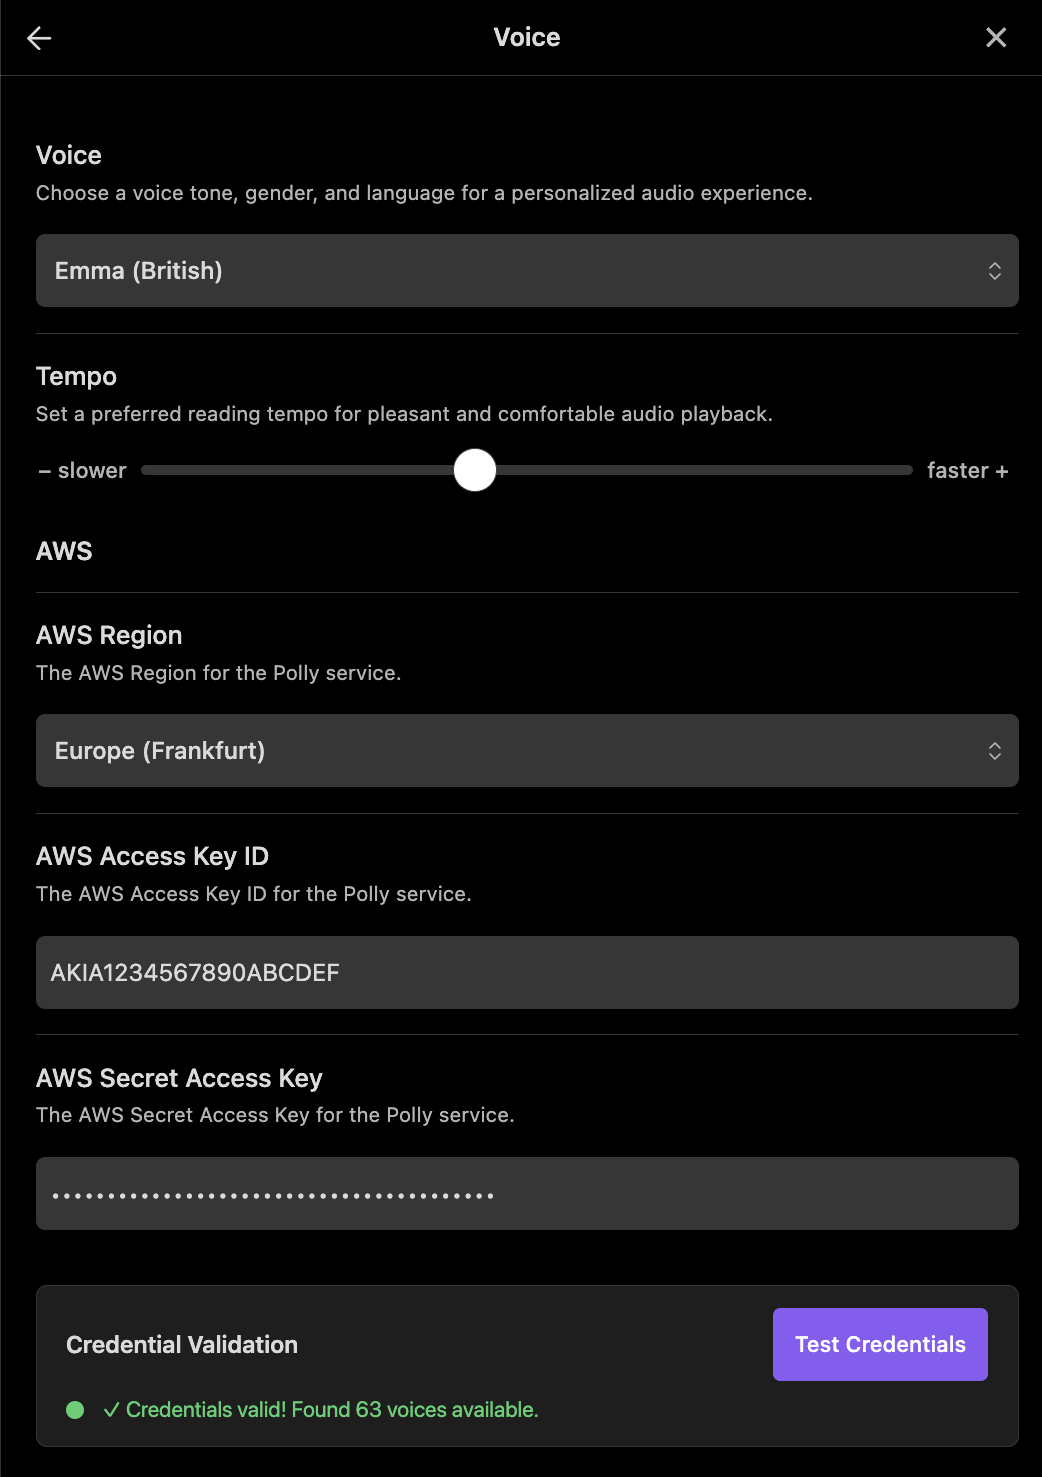
Update credentials, validate your setup, and check voice availability directly from mobile settings.
Smart Content Handling
- Markdown pre-processing cleans, enhances, and chunks content for reliable delivery.
- Headings, bold text, and pauses are emphasized natively on providers that support SSML (AWS Polly, Google Cloud, Azure Speech).
Settings
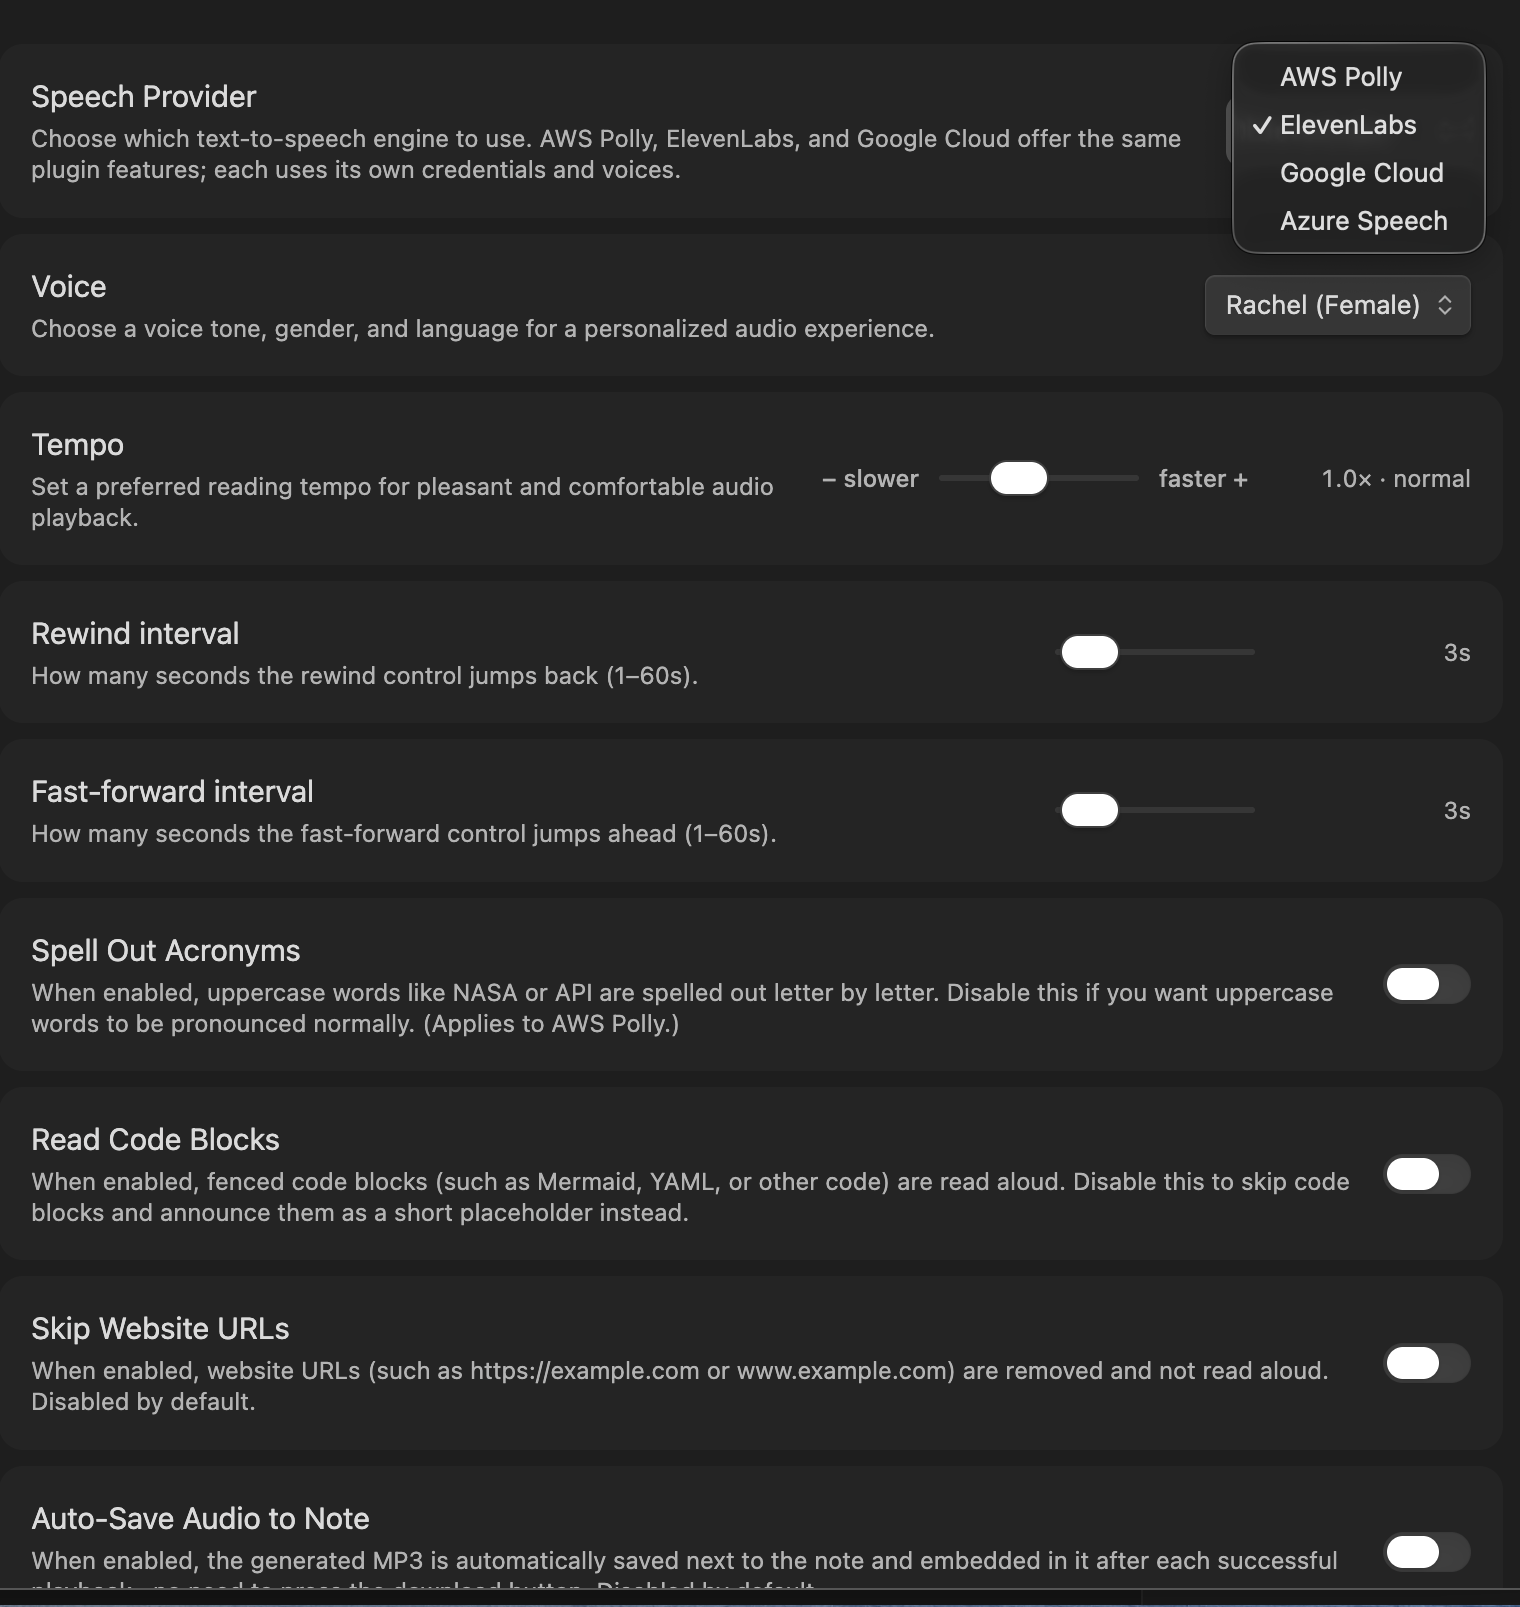
Configure your provider and credentials in Settings → Voice. The settings tab stays lean: it covers setup and defaults, while the things you change while listening — voice, tempo, and the content toggles (read code blocks, spell out acronyms, skip website URLs, embed MP3) — live as one-click controls in the Voice player.
| Setting | What it does |
|---|---|
| Speech Provider | Choose the engine: AWS Polly, ElevenLabs, Google Cloud, Azure Speech, OpenAI, OpenAI-compatible, or MiniMax. The credential fields below adapt to your choice. |
| Rewind interval | How many seconds the rewind control jumps back (1–60s, default 3s). |
| Fast-forward interval | How many seconds the fast-forward control jumps ahead (1–60s, default 3s). |
| Save automatically | Automatically save and embed the MP3 after each playback. Off by default. |
| Save location | Where saved MP3s go. Next to the note by default. Hold the save button to open the folder picker, then pin (📌) a folder as your default; tap the pin again to clear it. Star (⭐) folders for quick access. |
| Folder list follows note | Player's folder picker auto-switches to the folder of the note you're viewing. On by default; turn off to keep your chosen folder. |
| Play the note's saved audio | On play, load the MP3 already saved for the note you're viewing (matched by name) instead of re-generating it — so jumping between notes picks up each note's audio, even with another chapter loaded. On by default; turn off to keep the loaded chapter playing and always re-generate. |
| Test Credentials | Validate your provider keys; on success it reports how many voices are available. |
Keyboard Shortcuts
Voice ships 16 commands you can bind to any hotkey. No keys are assigned by default — open Settings → Hotkeys, search for Voice, and assign whatever feels natural. (In the command palette, each command is prefixed with Voice:.)
| Command | What it does |
|---|---|
| Start reading the current document. | Begin reading the active note |
| Play or Stop reading the current document. | Toggle playback with one key |
| Pause reading the current document. | Pause playback |
| Stop reading the current document. | Stop playback and reset |
| Rewind by few seconds reading the current document. | Jump back by your rewind interval |
| Fast-Forward by few seconds reading the current document. | Jump ahead by your fast-forward interval |
| Increase the reading speed by 0.1x. | Speed up playback |
| Decrease the reading speed by 0.1x. | Slow down playback |
| Reading tempo increased by 15% for a faster pace of the current document. | Read at 1.15× |
| Reading tempo increased by 25% for a faster pace of the current document. | Read at 1.25× |
| Reading tempo reduced by 15% for a slower pace of the current document. | Read at 0.85× |
| Reading tempo reduced by 25% for a slower pace of the current document. | Read at 0.75× |
| Save the current audio as an MP3 and embed it in the note. | Download and embed the audio |
| Switch to the next speaker. | Cycle to the next voice |
| Open the player. | Open the Voice player pane |
| Show what's new. | Reopen the latest "What's New" note |
Bring Your Own Provider
Voice is built to work with the provider you already use. For a long time it was AWS Polly only — the goal now is to support all the common text-to-speech engines, so you can bring your own. Pick AWS Polly, ElevenLabs, OpenAI, Google Cloud, Azure Speech, MiniMax, or OpenAI-compatible from the Speech Provider dropdown in settings. Each provider keeps its own credentials and voice list; everything else — tempo, rewind/fast-forward intervals, downloads, auto-save, and the content toggles — works identically. After entering your credentials, press Test Credentials to confirm everything is connected.
The newest addition, MiniMax, adds a selectable mainland-China region and strong Chinese-language voices — so Voice now works even where the other engines are hard to reach.
| AWS Polly | ElevenLabs | Google Cloud | Azure Speech | OpenAI | MiniMax | |
|---|---|---|---|---|---|---|
| Voices | Neural voices across many languages | Premade & multilingual voices speaking 29 languages | Neural2 & WaveNet voices across many languages | Neural voices across many languages | Built-in multilingual voices (Alloy, Nova, …) | Multilingual voices, strong Chinese support |
| Credentials | AWS region + Access Key ID & Secret | ElevenLabs API key | Google Cloud API key (Text-to-Speech API enabled) | Azure Speech key + region | OpenAI API key | MiniMax API key + Group ID (region-selectable) |
| Emphasis | Native SSML pauses & emphasis | Expressive models with natural <break> pauses |
Native SSML pauses & emphasis | Native SSML pauses & emphasis | Natural prosody (no SSML) | Natural prosody (no SSML) |
| Models | Neural engine | Multilingual v2 / Flash v2.5 / Turbo v2.5 | Neural2 / WaveNet | Neural | GPT-4o mini TTS / TTS-1 / TTS-1 HD | Speech 02 HD/Turbo · Speech 01 HD/Turbo |
Getting Started
- Install the Voice plugin inside Obsidian (Community Plugins → Browse → Voice) and toggle it on.
- Open Settings → Voice and pick your Speech Provider.
- Enter that provider's credentials (see Connecting a Provider) and press Test Credentials.
- Open any note and press the Voice ribbon icon — or open the player — to start listening.
- Not working? See Troubleshooting & Help.
Connecting a Provider
Start with the provider you already have — you can switch anytime.
AWS Polly — In Settings → Voice, choose AWS Polly, select your region, paste your Access Key ID and Secret Access Key, and press Test Credentials. For a step-by-step guide to creating a dedicated AWS key, see Advanced: AWS Polly Setup.
ElevenLabs — Sign in at elevenlabs.io, open Settings → API Keys, and create a key. In Settings → Voice, choose ElevenLabs, pick a model and voice, paste the key, and press Test Credentials.
Google Cloud — In the Google Cloud console, enable the Cloud Text-to-Speech API and create an API key. In Settings → Voice, choose Google Cloud, pick a voice, paste the key, and press Test Credentials. (Don't add an HTTP-referrer restriction — see the provider notes.)
Azure Speech — In the Azure portal, create a Speech resource and copy a Key and Region. In Settings → Voice, choose Azure Speech, select the matching region, pick a voice, paste the key, and press Test Credentials.
OpenAI — Create an API key at platform.openai.com/api-keys. In Settings → Voice, choose OpenAI, pick a model and voice, paste the key, and press Test Credentials.
OpenAI-compatible — Any server that speaks OpenAI's speech API. See OpenAI-compatible servers below.
MiniMax — Sign in at platform.minimax.io (or platform.minimaxi.com for mainland China) and copy your API key and Group ID. In Settings → Voice, choose MiniMax, select the matching region, pick a model and voice, paste the key and Group ID, and press Test Credentials.
OpenAI-compatible servers
Many services and self-hosted servers offer the same speech API as OpenAI. Choose OpenAI-compatible as the provider to use one of them, next to the regular OpenAI provider — both keep their own settings, so you can switch between them in the player.
Enter the Server URL — the address the API paths hang off, for example:
Server Server URL OpenRouter https://openrouter.ai/api/v1Kokoro-FastAPI (local) http://localhost:8880/v1LiteLLM proxy (local) http://localhost:4000/v1The URL is used exactly as entered; Voice appends
/audio/speechand/modelsto it.Paste an API key if the server needs one (OpenRouter does; most local servers don't).
Press Test Credentials. Voice connects and loads the server's models and, where the server publishes them, its voices.
Pick a Model. If the server doesn't list the model or voice you want, type it into Add models or Add voices (comma-separated). Without any voices, the standard OpenAI voices (Alloy, Nova, …) are offered.
Choose the voice in the player.
Audio format. MP3 is the default and works everywhere. Switch Audio format to WAV for servers that only produce WAV — saved files then end in .wav and show up in the chapter list like MP3s.
Security. Prefer https:// with a real certificate (Let's Encrypt, a Tailscale cert); self-signed certificates are not supported. Plain http:// sends your notes unencrypted and may be blocked by the operating system, especially on iOS — only use it on a network you trust.
On mobile, localhost means the phone itself, so a server running on your computer isn't reachable that way. Use an address the phone can reach — your computer's network address or a hosted HTTPS server.
Troubleshooting & Help
Run into an error, see a red control bar, or need the advanced provider setup (like creating a dedicated AWS user or picking the best region)? Everything is collected in the Troubleshooting & Advanced Setup guide.
Support
Voice is free and open source, built and maintained in my spare time. If it makes listening to your notes easier, you can support continued development with a coffee — it's genuinely appreciated. ☕
You'll also find a Sponsor button at the top of the GitHub repository and a donate link on the plugin's page inside Obsidian.