Column Flow
 Jakimcikas70 downloads
Side-by-side columns you can edit directly in Live Preview.
- Overview
- Scorecard
- Updates5
Side-by-side columns in Obsidian that you can edit directly in Live Preview, not only in Reading mode.
Each column is shown as a rendered card. Click one (or arrow into it) and it turns into a real Obsidian editor, with formatting, links, autocomplete and hotkeys. Click away and it goes back to the rendered card.
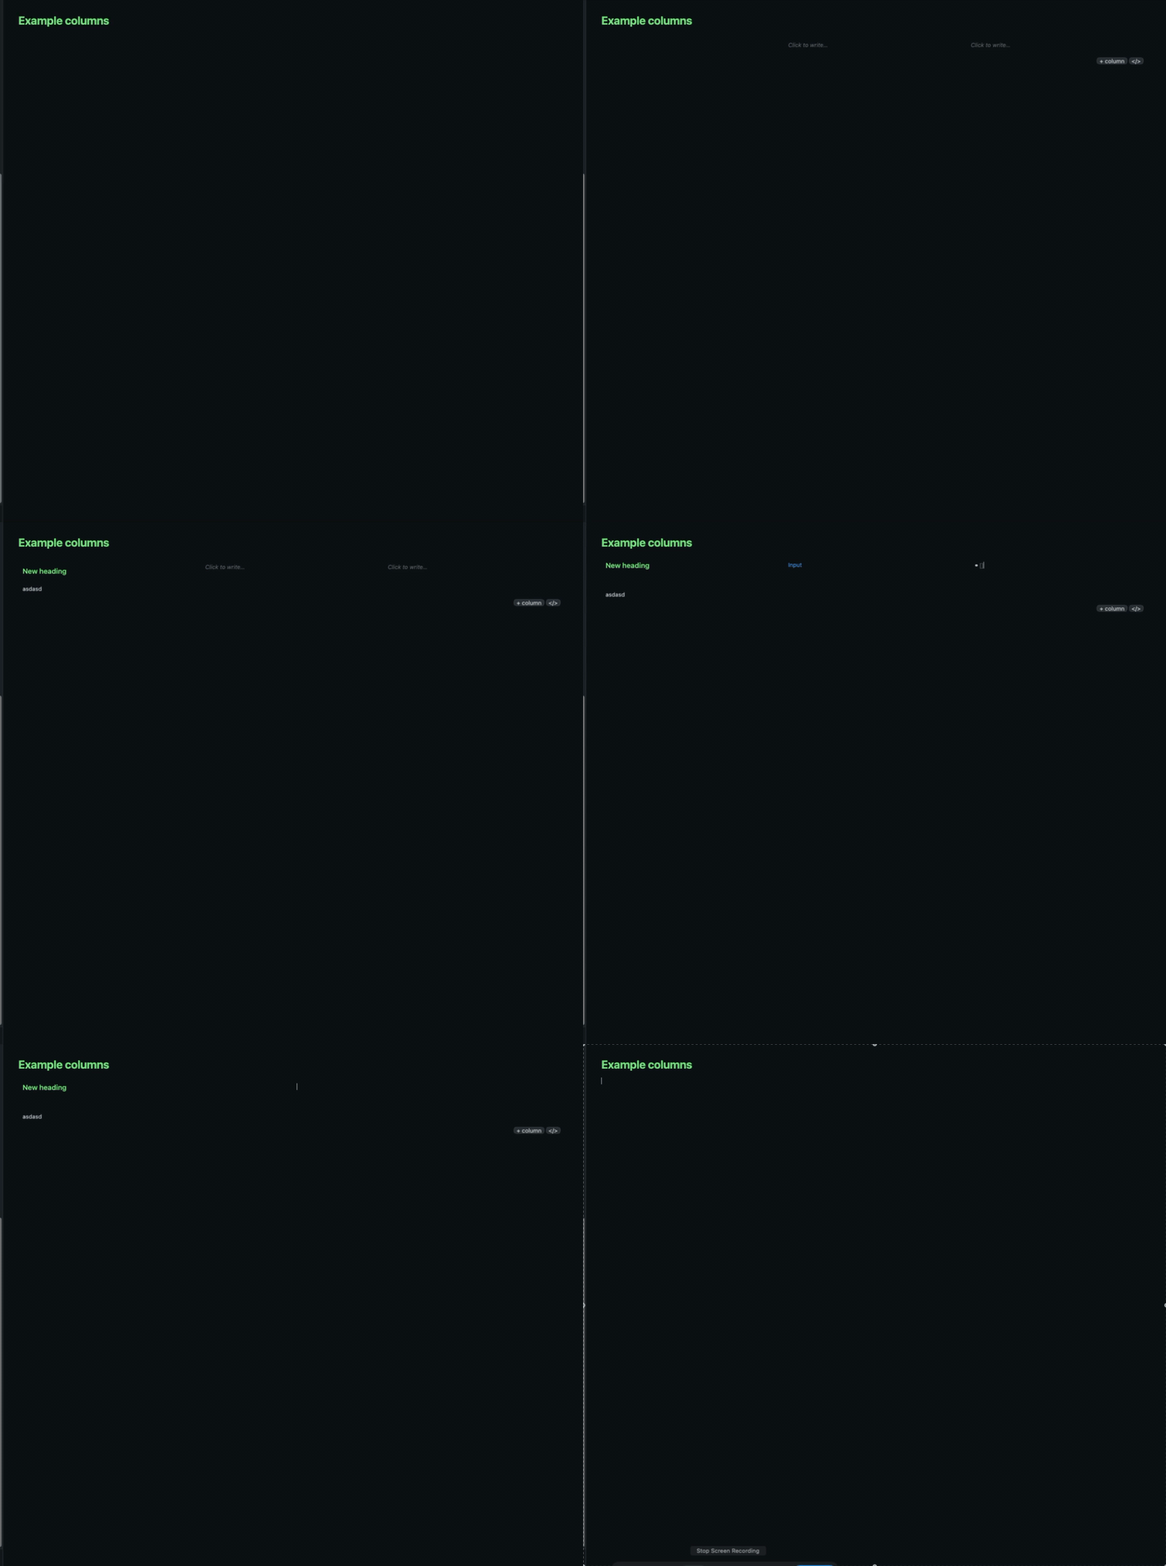
Inserting columns
The quickest way is the command palette:
- Put the cursor where you want the columns.
- Press Cmd+P (Ctrl+P on Windows/Linux) and run Column Flow: Insert columns.
- Pick 2–6 columns from the list, or type any number from 1 to 12 and press Enter.
An empty block is inserted, and the cursor goes into the first column so you can start typing. If the cursor was mid-line, the block starts on a new line, and selected text is replaced.
To insert columns without the palette, assign a shortcut in Settings → Hotkeys (search for "Insert columns").
Writing columns by hand
The block is plain Markdown, so you can also type it yourself:
```columns
Left column with **markdown**, [[links]] and lists
+++
Right column
```
+++ on its own line separates the columns. Without the plugin installed, this is still a plain code block, so your notes stay readable.
Editing
- Edit: click a column, or move into it with the arrow keys.
- Navigate: ←/→ at the start or end of a column jumps to the neighbouring column, and ↑/↓ at the top or bottom leaves the block. Esc closes the editor.
- Add a column: hover over the block and click + column.
- Remove a column: hover over it and click ×, or press Cmd/Ctrl+Backspace in an empty column. Removing the last column deletes the whole block, and Cmd/Ctrl+Z brings it back.
- Raw markdown: the </> button shows the block's source.
Styling
Borders
Columns are borderless by default. To add borders:
Every note: Settings → Column Flow → Bordered columns.
One note: add
cf-borderedto the note'scssclassesin the frontmatter:--- cssclasses: cf-bordered ---
Custom CSS
For anything else, add a CSS snippet: create a .css file in <vault>/.obsidian/snippets/ and enable it in Settings → Appearance → CSS snippets. These are the classes you can target:
| Class | Element |
|---|---|
.cf-columns |
The grid holding the columns |
.cf-column |
One column |
.cf-column.is-editing |
The column being edited |
.cf-bordered |
Added to the page when Bordered columns is on |
Examples:
/* More space between columns */
.cf-columns { gap: 2rem; }

/* First column twice as wide as the others */
.cf-columns { grid-template-columns: 2fr 1fr; }

/* A thin divider line between columns instead of borders */
.cf-column + .cf-column { border-left: 1px solid var(--background-modifier-border); border-radius: 0; }

/* No highlight on hover or while editing */
.cf-column:hover,
.cf-column.is-editing { background: none; }
To style only some notes, put a class of your own in front of the selector and add that class to those notes' cssclasses. For example, .wide-left .cf-columns { grid-template-columns: 2fr 1fr; } with cssclasses: wide-left.
If a rule doesn't take effect, put body in front of it (for example body .cf-columns { … }) so it overrides the plugin's own styles.
On narrow screens (under 600px wide), columns stack vertically.
How it works
Column Flow is JavaScript that runs inside Obsidian, like any other plugin. It doesn't start a separate process and doesn't use the network. It adds an extension to Obsidian's editor that listens for changes to the note you're editing:
- When the note contains a
columnsblock, the extension draws it as columns instead of a code block. - When you type in a column, the change is written straight back to the note's Markdown, so the file on disk always holds plain text.
- In Reading mode, blocks are rendered as columns when the note is displayed.
Install
From Obsidian: Settings → Community plugins → Browse, search for Column Flow, then install and enable it.
From GitHub:
- Download
main.js,manifest.jsonandstyles.cssfrom the latest release. - Put them in
<vault>/.obsidian/plugins/column-flow/. - Enable Column Flow in Settings → Community plugins.
Alternatively, install the BRAT plugin and add Jakimcikas/obsidian-column-flow. BRAT also keeps the plugin updated.
Requires Obsidian 1.13 or later.
Development
npm install
npm run dev          # rebuild on change
node parse.test.ts   # parser self-check
npm run lint         # the same lint rules Obsidian's plugin directory checks
Releasing: bump version in manifest.json, package.json and versions.json, add release-notes/<version>.md, commit, then push a tag with the same version (git tag 0.1.2 && git push origin 0.1.2). GitHub Actions builds the plugin, attests the files and publishes the release.
The in-place column editors use Obsidian's internal markdown editor class (the same approach as the Kanban plugin). That API isn't public, so an Obsidian update could break it.
License
MIT