reMarkable Roundtrip
 vevmesteren6 downloads
Publish notes to reMarkable as PDFs, annotate by hand, and pull handwritten annotations back into your vault as structured text.
- Overview
- Scorecard
- Updates6
Publish Obsidian markdown pages to your reMarkable tablet as PDFs, annotate by hand, then pull handwriting back into your vault as structured text.
The only reMarkable ↔ Obsidian tool that does the full round-trip.
Install from the community store: Settings → Community plugins → Browse → search "reMarkable Roundtrip" → Install → Enable. The CLI backend still requires terminal setup (see Quick Start below).
Data egress: Publishing sends your PDF to reMarkable Cloud. Pulling sends page images to OpenRouter for handwriting transcription. See Security & Data Egress Disclosures.
How It Works
flowchart LR
    A["Obsidian note\n(.md)"] -->|ormb publish| B["PDF render\n(Playwright)"]
    B --> C["reMarkable Cloud\n(rmapi upload)"]
    C --> D["reMarkable tablet\n(annotate by hand)"]
    D --> E["reMarkable Cloud\n(sync annotated PDF)"]
    E -->|ormb pull| F["PNG @ 300 DPI\n(pymupdf)"]
    F --> G["OpenRouter\n(vision LLM)"]
    G --> H["Transcribed text"]
    H --> I["Obsidian note\n(annotations appended)"]
    I -.->|ormb publish\n--on-exists content-only| B
Quick Start
Install from source (recommended until PyPI release)
Developers: use
pip install -e ".[dev]"to include test dependencies. End users:pip install -e .is sufficient.
git clone https://github.com/vevmesteren/remarkable-roundtrip.git
cd remarkable-roundtrip

# Use a venv (avoids system Python permission issues)
python3 -m venv .venv
source .venv/bin/activate        # Windows: .venv\Scripts\activate
pip install -e .
playwright install chromium      # needed for PDF rendering

ormb setup --rmapi               # downloads rmapi binary for your platform
ormb setup                       # installs Chromium + system deps (Linux needs sudo)

# Pair with reMarkable (one-time)
ormb pair

# Configure your vault path
ormb config set vault.path ~/Documents/Obsidian
PyPI: Not yet on PyPI. Install from source for now (
pip install -e .).
WSL/Ubuntu users: If
python3 -m venv .venvfails with "ensurepip not available", install the venv package for your Python version, e.g.sudo apt install python3.10-venv, then recreate the venv.
Publish to reMarkable (no API key needed)
# Publish a single page (relative paths resolve against vault.path)
ormb publish my-research-notes.md
ormb publish concepts/architecture/c4-system-landscape.md

# Or use an absolute path
ormb publish /path/to/any-note.md

# Publish all .md files in a folder as one combined PDF
ormb publish my-project/ --folder
That's it — your page is on your reMarkable, ready to annotate.
Pull annotations back (requires OpenRouter API key)
Annotation transcription uses a vision LLM via OpenRouter. You'll need an OpenRouter account and API key.
# Set your API key (interactive — key not stored in shell history)
ormb config set-key
# You'll be prompted to paste your key. Stored in ~/.obsidian-rm-bridge/config.toml (0600).

# List what's on your reMarkable to find the page name
ormb ls

# Pull annotations — the page name is the reMarkable document name
# (the .md file stem from publish, e.g. "c4-system-landscape")
ormb pull c4-system-landscape

# If the source .md is in a subdirectory, use --md to specify it:
ormb pull c4-system-landscape --md concepts/architecture/c4-system-landscape.md

# Or pull all annotated pages from your reMarkable folder:
ormb pull --all

# Get the page count WITHOUT calling vision (for cost checking):
ormb pull my-page --info --json
Annotations are appended as a single date-titled section with one bullet per annotation:
## [2026-11-13] Annotations

- handwritten annotation text
- another annotation
Caching: re-pulling an unchanged document hits a local cache (keyed by the PDF content hash) and skips the paid vision pipeline. If the annotations change, the PDF hash changes and the cache misses, so it re-transcribes.
Installation
Prerequisites
| Dependency | Mac | Windows | Linux |
|---|---|---|---|
| Python 3.10+ | brew install python |
python.org | apt install python3 python3-pip |
| git | brew install git |
git-scm.com | apt install git |
| Node.js 18+ (plugin build only) | brew install node |
nodejs.org | apt install nodejs npm |
| rmapi | ormb setup --rmapi |
Same | Same |
| reMarkable account | remarkable.com | Same | Same |
| OpenRouter API key (pull only) | openrouter.ai | Same | Same |
macOS
brew install python
python3 -m venv .venv && source .venv/bin/activate
pip install -e .
ormb setup --rmapi
Windows
# Install Python 3.10+ from python.org (check "Add to PATH")
python -m venv .venv
.venv\Scripts\activate
pip install -e .
ormb setup --rmapi

# Or use WSL (full Linux environment):
wsl --install -d Ubuntu
# Then follow Linux instructions inside WSL
Linux
# Install Python + venv support (venv package is separate on Debian/Ubuntu)
sudo apt install python3 python3-pip python3-venv python3.10-venv
python3 -m venv .venv && source .venv/bin/activate
pip install -e .
ormb setup --rmapi
ormb setup          # installs Chromium + system libs (libgbm, libnss, etc.)
                    # runs `sudo playwright install-deps` automatically
Topologies
The bridge has been validated across four host/topology combinations. Pick the one that matches where Obsidian runs.
| Topology | Obsidian on | CLI / venv / rmapi | Status |
|---|---|---|---|
| T-WSL | Windows | WSL2 Ubuntu | Primary, E2E-tested |
| T-MAC | macOS | Native venv | Untested — seeking community testers |
| T-LINUX | Linux desktop | Native venv + rmapi | Untested — seeking community testers |
| T-WIN | Windows | Native Windows Python | Untested — seeking community testers |
Which topology should I use?
flowchart TD
    Start["What OS is Obsidian running on?"] --> Q1{"Windows?"}
    Q1 -->|Yes| Q2{"Comfortable with\nWSL2?"}
    Q1 -->|No| Q3{"macOS?"}
    Q1 -->|No| Q4{"Linux?"}
    Q2 -->|Yes| TWSL["T-WSL\n(Primary, E2E-tested)\nINSTALL-T-WSL.md"]
    Q2 -->|No| TWIN["T-WIN\n(Windows native Python)\nINSTALL-T-WIN.md"]
    Q3 -->|Yes| TMAC["T-MAC\nINSTALL-T-MAC.md"]
    Q4 -->|Yes| TLINUX["T-LINUX\nINSTALL-T-LINUX.md"]
T-WSL — Windows + WSL2 Ubuntu (primary)
Obsidian runs on Windows; the CLI, venv, and rmapi live inside a WSL2 Ubuntu distribution. This is the primary, end-to-end-tested topology.
# Windows side
wsl --install -d Ubuntu
# Inside WSL Ubuntu:
sudo apt install python3 python3-pip python3-venv python3.10-venv
python3 -m venv .venv && source .venv/bin/activate
pip install -e .
ormb setup --rmapi
ormb setup
ormb pair
ormb config set vault.path /mnt/c/Users/<you>/Documents/Obsidian
The vault path points at the Windows filesystem mounted under /mnt/c.
T-MAC — macOS native
Obsidian and the CLI both run natively on macOS.
brew install python
python3 -m venv .venv && source .venv/bin/activate
pip install -e .
ormb setup --rmapi
ormb pair
ormb config set vault.path ~/Documents/Obsidian
T-LINUX — Linux desktop native
Obsidian and the CLI both run on a Linux desktop.
sudo apt install python3 python3-pip python3-venv python3.10-venv
python3 -m venv .venv && source .venv/bin/activate
pip install -e .
ormb setup --rmapi
ormb setup
ormb pair
ormb config set vault.path ~/Documents/Obsidian
T-WIN — Windows native Python
The CLI runs under native Windows Python (no WSL). Obsidian runs on Windows.
python -m venv .venv
.venv\Scripts\activate
pip install -e .
ormb setup --rmapi
ormb config set vault.path C:\Users\<you>\Documents\Obsidian
Playwright Chromium on native Windows generally does not need the
install-depsstep (that's Linux-only).
Obsidian Plugin
The companion Obsidian plugin is a thin TypeScript wrapper that spawns the
ormb CLI via child_process. It adds Publish and Pull commands to
Obsidian's command palette and a settings tab.
Install
Once accepted into the community plugin store, you can install it directly from Obsidian:
- Settings → Community plugins → Browse and search for "reMarkable Roundtrip".
- Click Install, then Enable.
Until then, install from source with the install script:
# From the repo root — builds the plugin and copies it to your vault
./scripts/install-plugin.sh <vault-path>
# e.g. ./scripts/install-plugin.sh /mnt/c/dev/veviki
# e.g. ./scripts/install-plugin.sh ~/Documents/Obsidian
# e.g. ./scripts/install-plugin.sh 'C:\dev\MyVault'
The script runs npm run build and copies main.js + manifest.json into
<vault>/.obsidian/plugins/rm-bridge/. It handles WSL paths
(/mnt/c/...) and Windows paths (C:\...) automatically.
For step-by-step per-topology instructions, see:
- T-WSL — Obsidian on Windows, CLI in WSL2 (primary)
- T-MAC — Obsidian on macOS, native CLI
- T-LINUX — Obsidian on Linux, native CLI
- T-WIN — Obsidian on Windows, native CLI (no WSL)
After installing:
- In Obsidian: Settings → Community plugins → enable "reMarkable Roundtrip"
- Open the plugin settings tab → set the Python binary path
- Click Test connection — all checks should pass
Usage
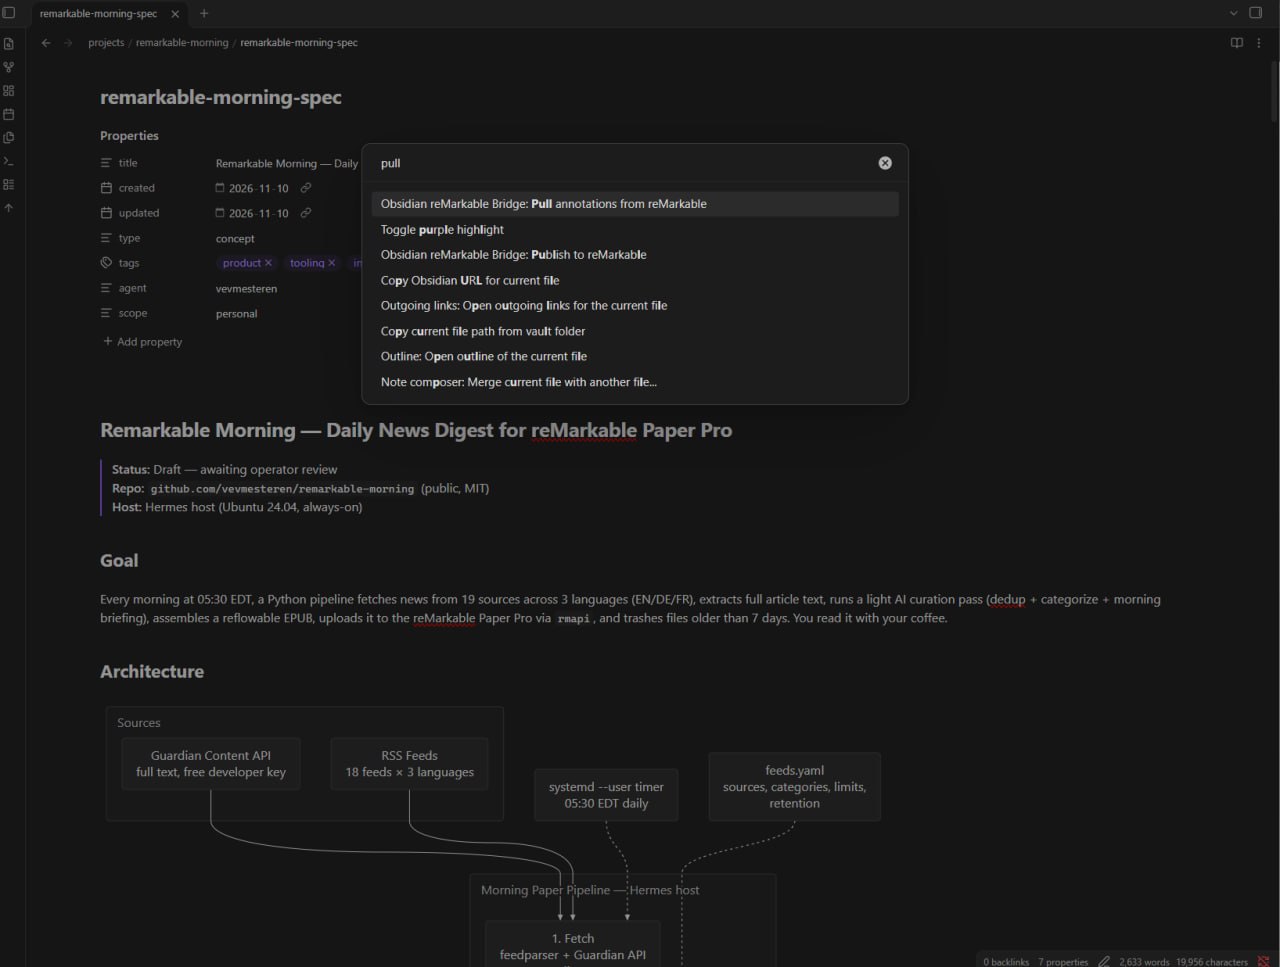
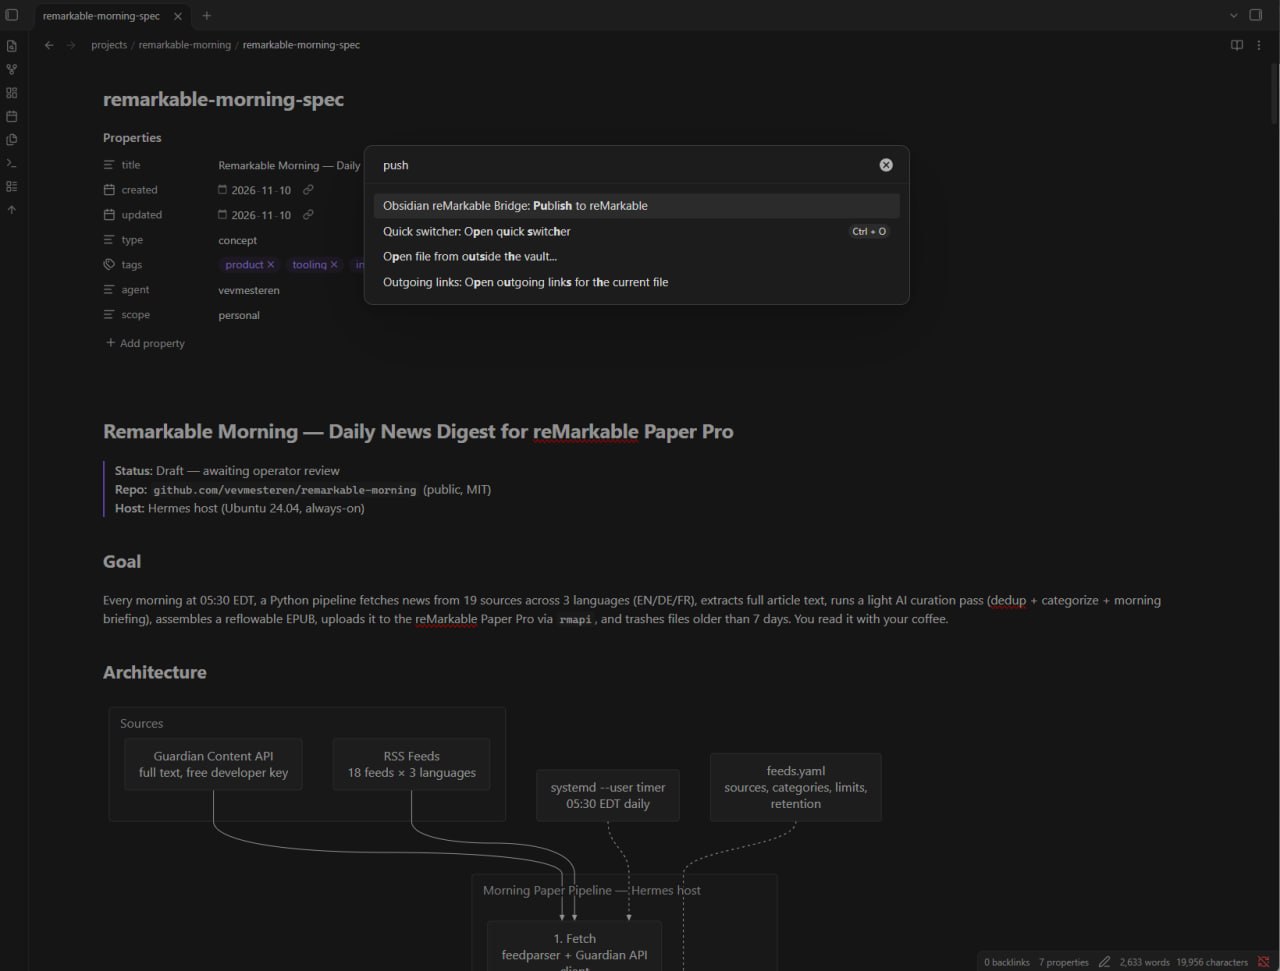
The plugin adds two commands to the command palette (Ctrl/Cmd+P):
- Publish current note to reMarkable — renders the active note to PDF and uploads it. Assigns the document the note's stem as its name.
- Pull annotations from reMarkable — downloads the annotated PDF for the current note's name, shows a consent modal with the page count that will be sent to OpenRouter, and (after consent) transcribes the handwriting back into the note as a date-titled annotation section.
The first pull triggers a consent dialog because page images are sent to
OpenRouter for vision transcription. The plugin shows the page count (via
ormb pull --info) before you consent to the cost.
sequenceDiagram
    participant U as User
    participant P as Obsidian Plugin
    participant C as ormb CLI
    participant R as reMarkable Cloud
    participant V as OpenRouter
    U->>P: "Pull annotations" (command palette)
    P->>C: ormb pull --info --json (page count only)
    C->>R: rmapi refresh + geta (metadata)
    C-->>P: { pages: N, annotated: M }
    P->>U: Consent modal: "Transcribe M pages via GLM-4.5V on OpenRouter?"
    U->>P: Confirm
    P->>C: ormb pull --emit json (full pull)
    C->>R: rmapi geta (annotated PDF)
    C->>C: PDF to PNG @ 300 DPI
    C->>V: POST page images
    V-->>C: Transcribed text per page
    C-->>P: { sections: [...], doc_id }
    P->>P: vault.process (replace marker block)
    P-->>U: "Pulled M annotations"
Settings tab
The plugin settings tab lets you:
- Test connection — verifies
ormbis on PATH and reports the doctor health check. - Run the terminal setup commands (
ormb setup --rmapi,ormb pair,ormb config set-key) with copy-to-clipboard buttons so you can run them in a real terminal (the plugin does not capture your API key).
Screenshots
CLI Reference
| Command | Description |
|---|---|
ormb publish <file> |
Publish a single markdown page to reMarkable |
ormb publish <folder> --folder |
Publish all .md files as a combined PDF |
ormb pull <page-name> |
Pull annotations from reMarkable (page-name = .md stem, e.g. c4-system-landscape) |
ormb pull <page-name> --md <path> |
Same, but specify the source .md file (for subdirectory notes) |
ormb pull <page-name> --info --json |
Get page count without calling vision (for the consent modal) |
ormb pull --all |
Pull all annotated pages from your reMarkable folder |
ormb publish <file> --on-exists fail |
Refuse to overwrite an existing page (default) |
ormb publish <file> --on-exists content-only |
Replace existing page only if content changed (preserves annotations) |
ormb ls |
List files on reMarkable |
ormb rm <page-name> |
Delete a file on reMarkable |
ormb config set <key> <value> |
Set a configuration option |
ormb config set-key |
Set the OpenRouter API key (interactive, not stored in shell history) |
ormb config show |
Show current configuration |
ormb pair |
Pair with reMarkable (prompts for one-time code) |
ormb setup |
Install Playwright browser |
ormb setup --rmapi |
Download and install rmapi binary (version-pinned, sha256-verified) |
ormb doctor |
Health check for dependencies and configuration |
Configuration
Config lives at ~/.obsidian-rm-bridge/config.toml. Environment variables
override file values.
[vault]
path = "~/Documents/Obsidian"

[remarkable]
folder = "/Obsidian"

[vision]
model = "z-ai/glm-4.5v"
openrouter_api_key = ""

[pdf]
font_size = 14
font_family = "Georgia"
code_font_size = 12

[render]
sanitize_html = true       # strip raw <script>/on* HTML before PDF render
resolve_wikilinks = true    # convert [[note]] to display text
Environment variable overrides: ORB_VAULT_PATH, ORB_RM_FOLDER,
ORB_VISION_MODEL, OPENROUTER_API_KEY, ORB_PDF_FONT_SIZE,
ORB_PDF_FONT_FAMILY, ORB_PDF_CODE_FONT_SIZE,
ORB_SANITIZE_HTML, ORB_RESOLVE_WIKILINKS.
How Annotation Transcription Works
- After annotating on your reMarkable, run
ormb pull - The annotated PDF is downloaded via rmapi
- Each page is rendered to PNG at 300 DPI
- Pages are sent to a vision-capable LLM (GLM-4.5V by default)
- Handwritten annotations are transcribed to text
- Transcribed annotations are appended to your source markdown file
Re-publishing after pulling
When you pull annotations, a marker block is inserted into your note:
<!-- ormb:annotations doc="..." rev="..." -->. If you re-publish the note
(with --on-exists content-only), the marker block and annotation sections
are stripped from the PDF automatically — they won't appear on your
reMarkable. This prevents annotation round-trip clutter in the published PDF.
Security & Data Egress Disclosures
This tool moves data between your machine, the reMarkable Cloud, and an external LLM provider. Please review these egress points before use.
flowchart TD
    subgraph Local["Your machine"]
        Vault["Obsidian vault\n(.md files)"]
        CLI["ormb CLI"]
        Cache["Pull cache\n(local, text only)"]
    end
    subgraph External["External services"]
        RMCloud["reMarkable Cloud\n(PDF upload + download)"]
        OpenRouter["OpenRouter\n(page images to text,\nvision LLM)"]
    end
    Vault -->|"publish: PDF"| CLI
    CLI -->|"rmapi put"| RMCloud
    RMCloud -->|"rmapi geta: annotated PDF"| CLI
    CLI -->|"pull: PNG images"| OpenRouter
    OpenRouter -->|"transcribed text"| CLI
    CLI -->|"append annotations"| Vault
    CLI -.->|"cache hit\nskip vision"| Cache
- reMarkable Cloud egress (publish + pull): when you
ormb publish, the rendered PDF is uploaded to the reMarkable Cloud viarmapi(the unofficial Go client). When youormb pull, the annotated PDF is downloaded from the reMarkable Cloud viarmapi. Your markdown content transits reMarkable's servers. - OpenRouter egress (pull only): when you
ormb pull, each page is rendered to a PNG image and sent to OpenRouter for vision transcription. The images and the returned transcribed text transit OpenRouter and the underlying model provider. The first pull shows a consent modal (plugin) / requires you to run the command explicitly (CLI) — no pull happens automatically. You need an OpenRouter API key, set viaormb config set-key. - External binary execution: the Obsidian plugin spawns
ormb(the Python CLI), which in turn spawns Chromium (via Playwright, for markdown→PDF and mermaid rendering) andrmapi(a third-party Go binary downloaded fromddvk/rmapireleases, version-pinned and sha256-verified). The plugin never invokes a shell (shell: trueis banned inplugin/src/and enforced by CI). - HTML sanitisation: raw HTML embedded in a note (e.g.
<script>oron*event handlers) is stripped via bleach before the PDF render, so it cannot reach Playwright/Chromium. This is on by default (render.sanitize_html = true); disable it only if you trust your vault's contents. - Local pull cache:
ormb pullcaches vision results by PDF content hash at~/.obsidian-rm-bridge/pull_cache.jsonso re-pulling an unchanged document does not re-pay OpenRouter. The cache contains transcribed text; no images are stored.
Architecture
See docs/ARCHITECTURE.md for the full architecture breakdown and docs/LINEAGE.md for project history.
Maintainer & developer docs
- Architecture & delivery plan — system design, C4 diagrams, design contracts
- Project lineage — phase history and source provenance
- ARB decision record — the 5-stage ARB that designed the plugin
- Community store submission — checklist for store submission
- T-WSL test playbook — E2E test cases for operator testing
- Troubleshooting — common issues and solutions
- FAQ — frequently asked questions
- Glossary — terminology reference
- Contributing — developer setup, test commands, PR conventions
License
MIT