Self Hosted Private Sync
 Samuel Naranjo97 downloads
Self-hosted, end-to-end encrypted live sync for your own obsync server.
- Overview
- Scorecard
- Updates17
Self-hosted, end-to-end encrypted live sync for Obsidian. One dependency-free Rust binary with a built-in dashboard, plus an Obsidian plugin. Files of any size, bounded only by your disk. No subscription, no third-party service, no crates, no npm packages.
Listed in Obsidian's community plugin directory as Self Hosted Private
Sync (plugin id obsync-private-sync): install it from Settings →
Community plugins → Browse, on every platform Obsidian runs on. Device
acceptance for 1.0.0 is a separate result and is planned in
docs/validation.md.
[!IMPORTANT] This plugin syncs to a server you run. There is no hosted service and no account with anyone but yourself: without your own
obsyncdreachable over HTTPS, the plugin has nothing to sync to.
[!IMPORTANT] Back up your vault before the first sync, and keep the 24-word recovery phrase somewhere other than the device that generated it. The server stores ciphertext only and cannot recover a vault for you.
[!IMPORTANT] Do not run this plugin alongside another sync solution on the same vault — Obsidian Sync, a file-syncing cloud folder, or another sync plugin. Two writers on one vault produce conflicts neither of them can reconcile.
Get synced in five steps
The path this release was validated on, from an empty vault to two devices in sync. Each step is written out in full under Get syncing below, and all five assume your own server is already running.
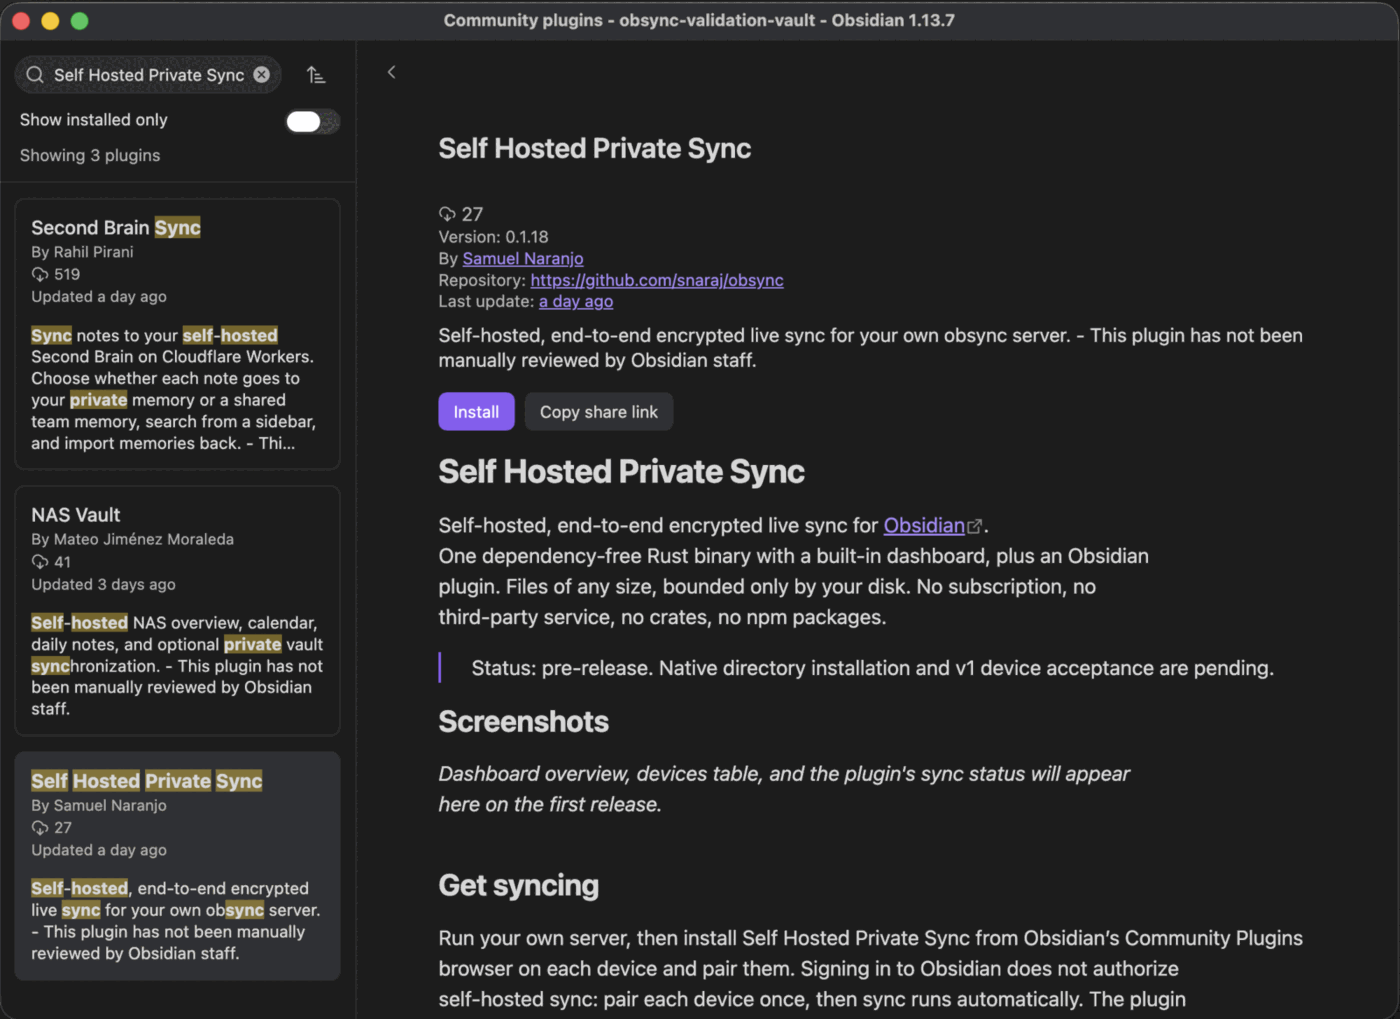
Install from Community plugins. In Settings → Community plugins → Browse, search for Self Hosted Private Sync and select Install, then Enable — the same way every other Obsidian plugin arrives, on every platform.
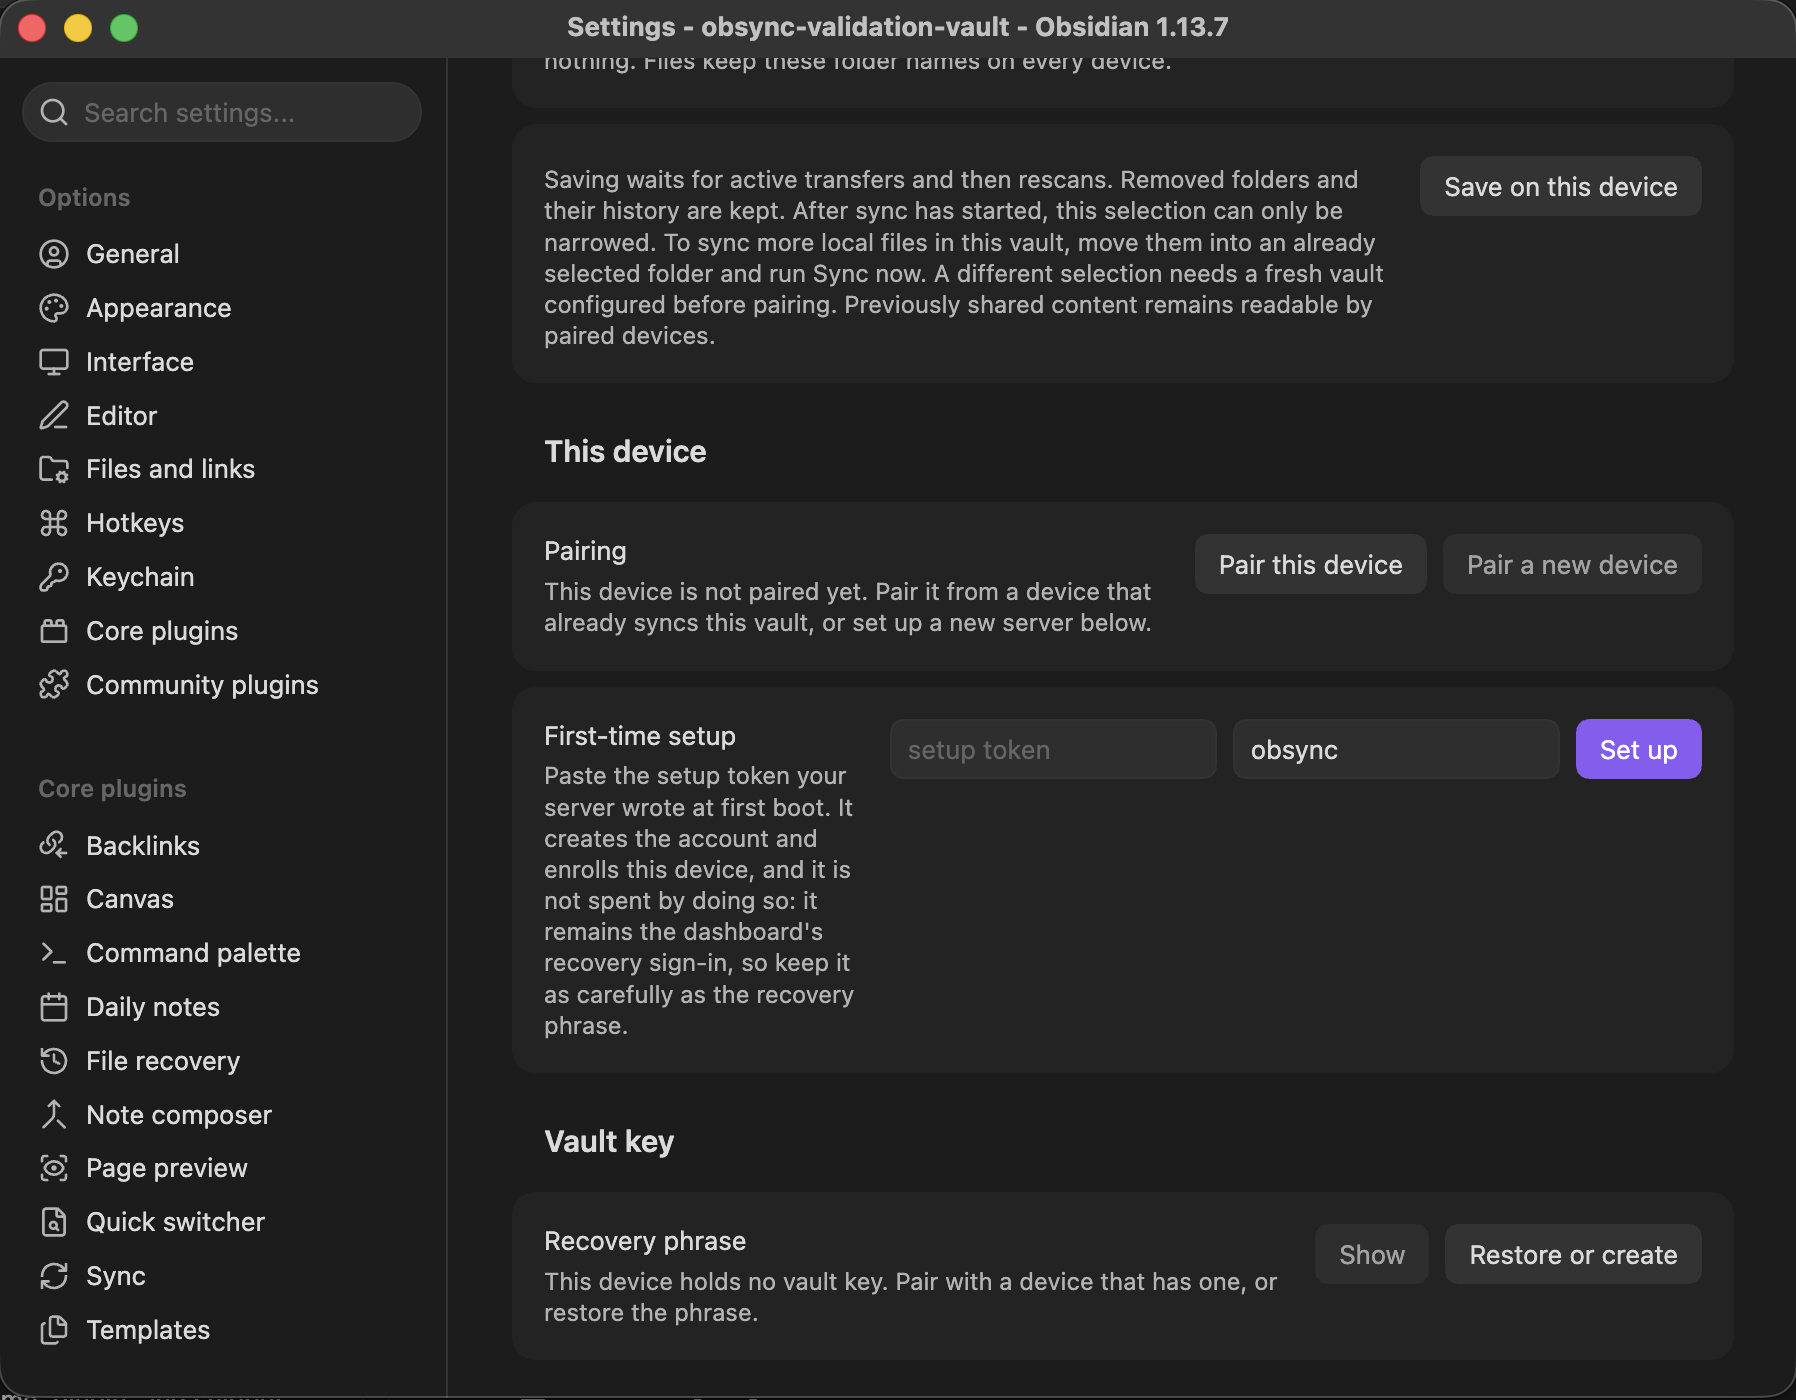
Point it at your server and set it up. Open the plugin's settings tab, set Server URL to your own server, choose and save which folders this device syncs, then paste your setup token under First-time setup.
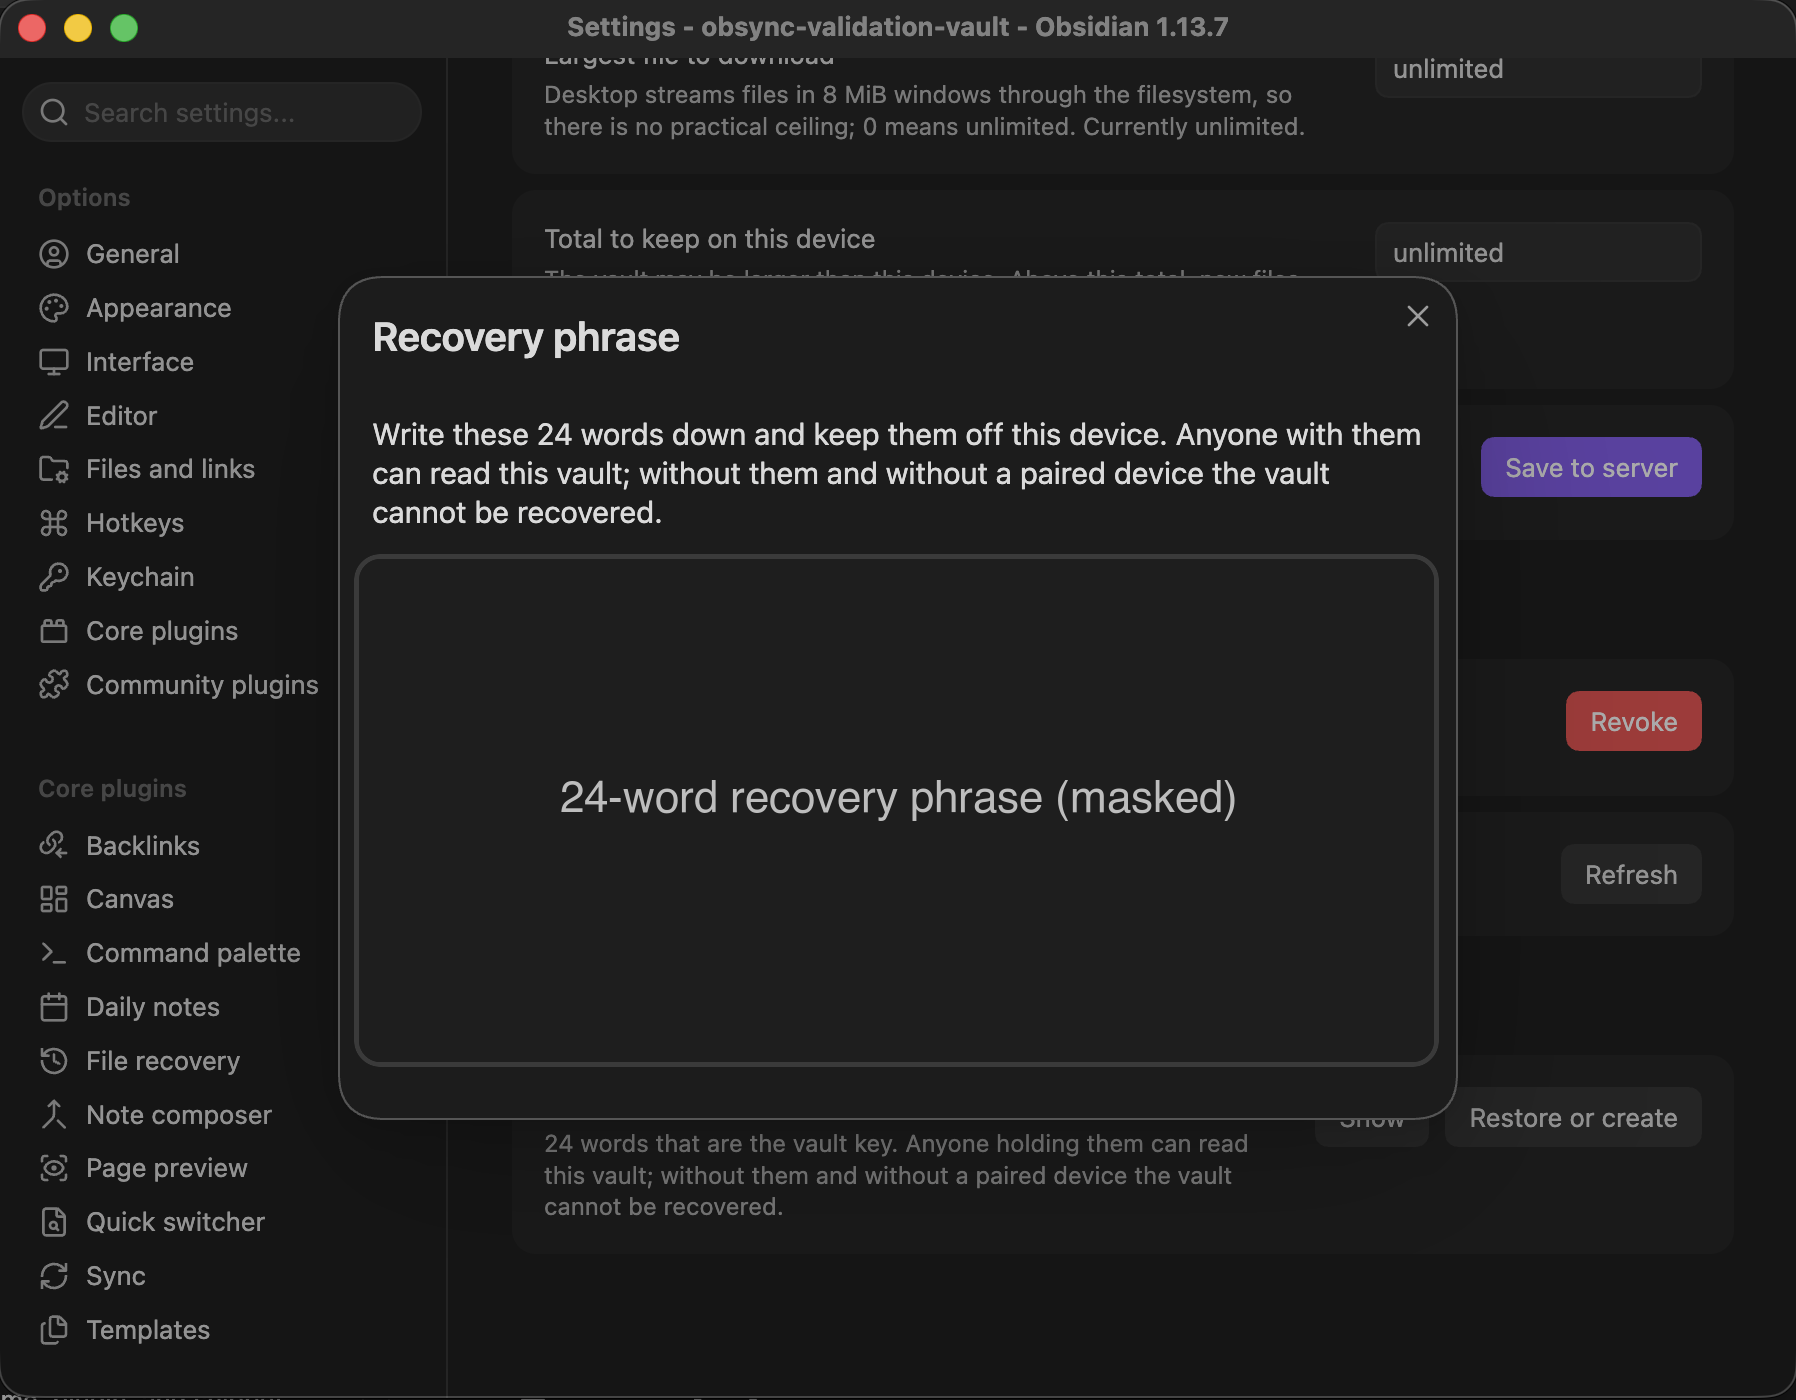
Keep the recovery phrase. Setup generates the vault key on this device and shows a 24-word phrase once: write it down and keep it somewhere other than this device, because the server holds ciphertext only and cannot recover a vault for you.
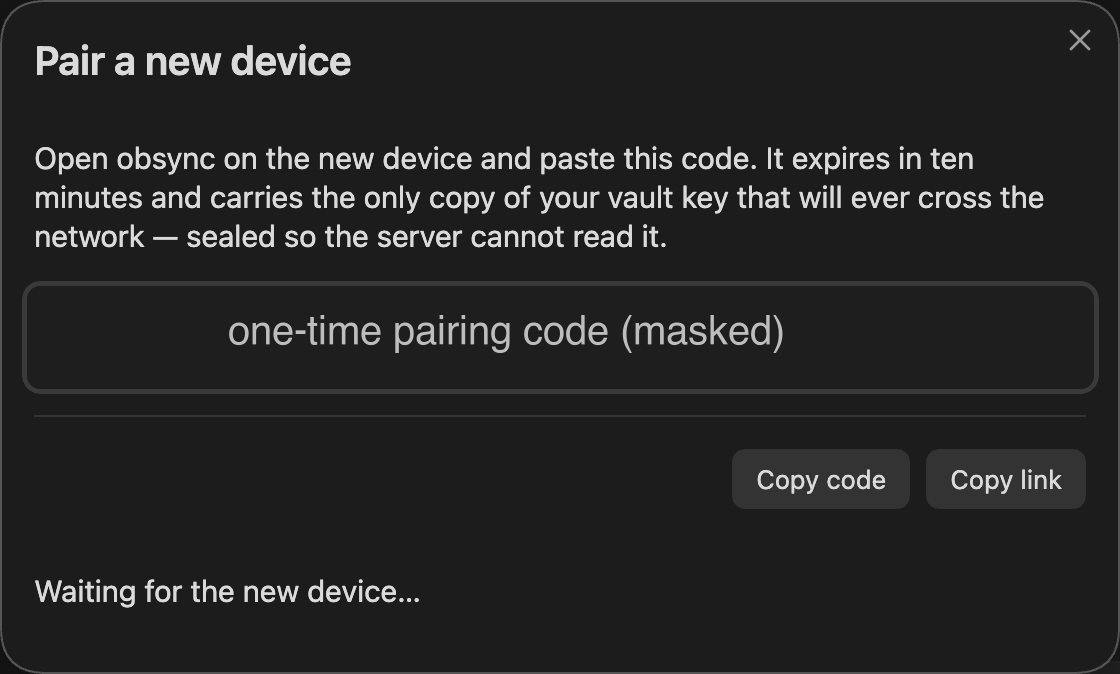
Pair a second device with a one-time code. Run Pair a new device on the first device, enter the code it shows on the second within ten minutes, and approve the device by name — the vault key travels encrypted under a pairing secret the server never sees.
Edit on either device and watch it land. Type in a note on one device and it appears on the other within seconds, in both directions, with the status bar showing what sync is doing.
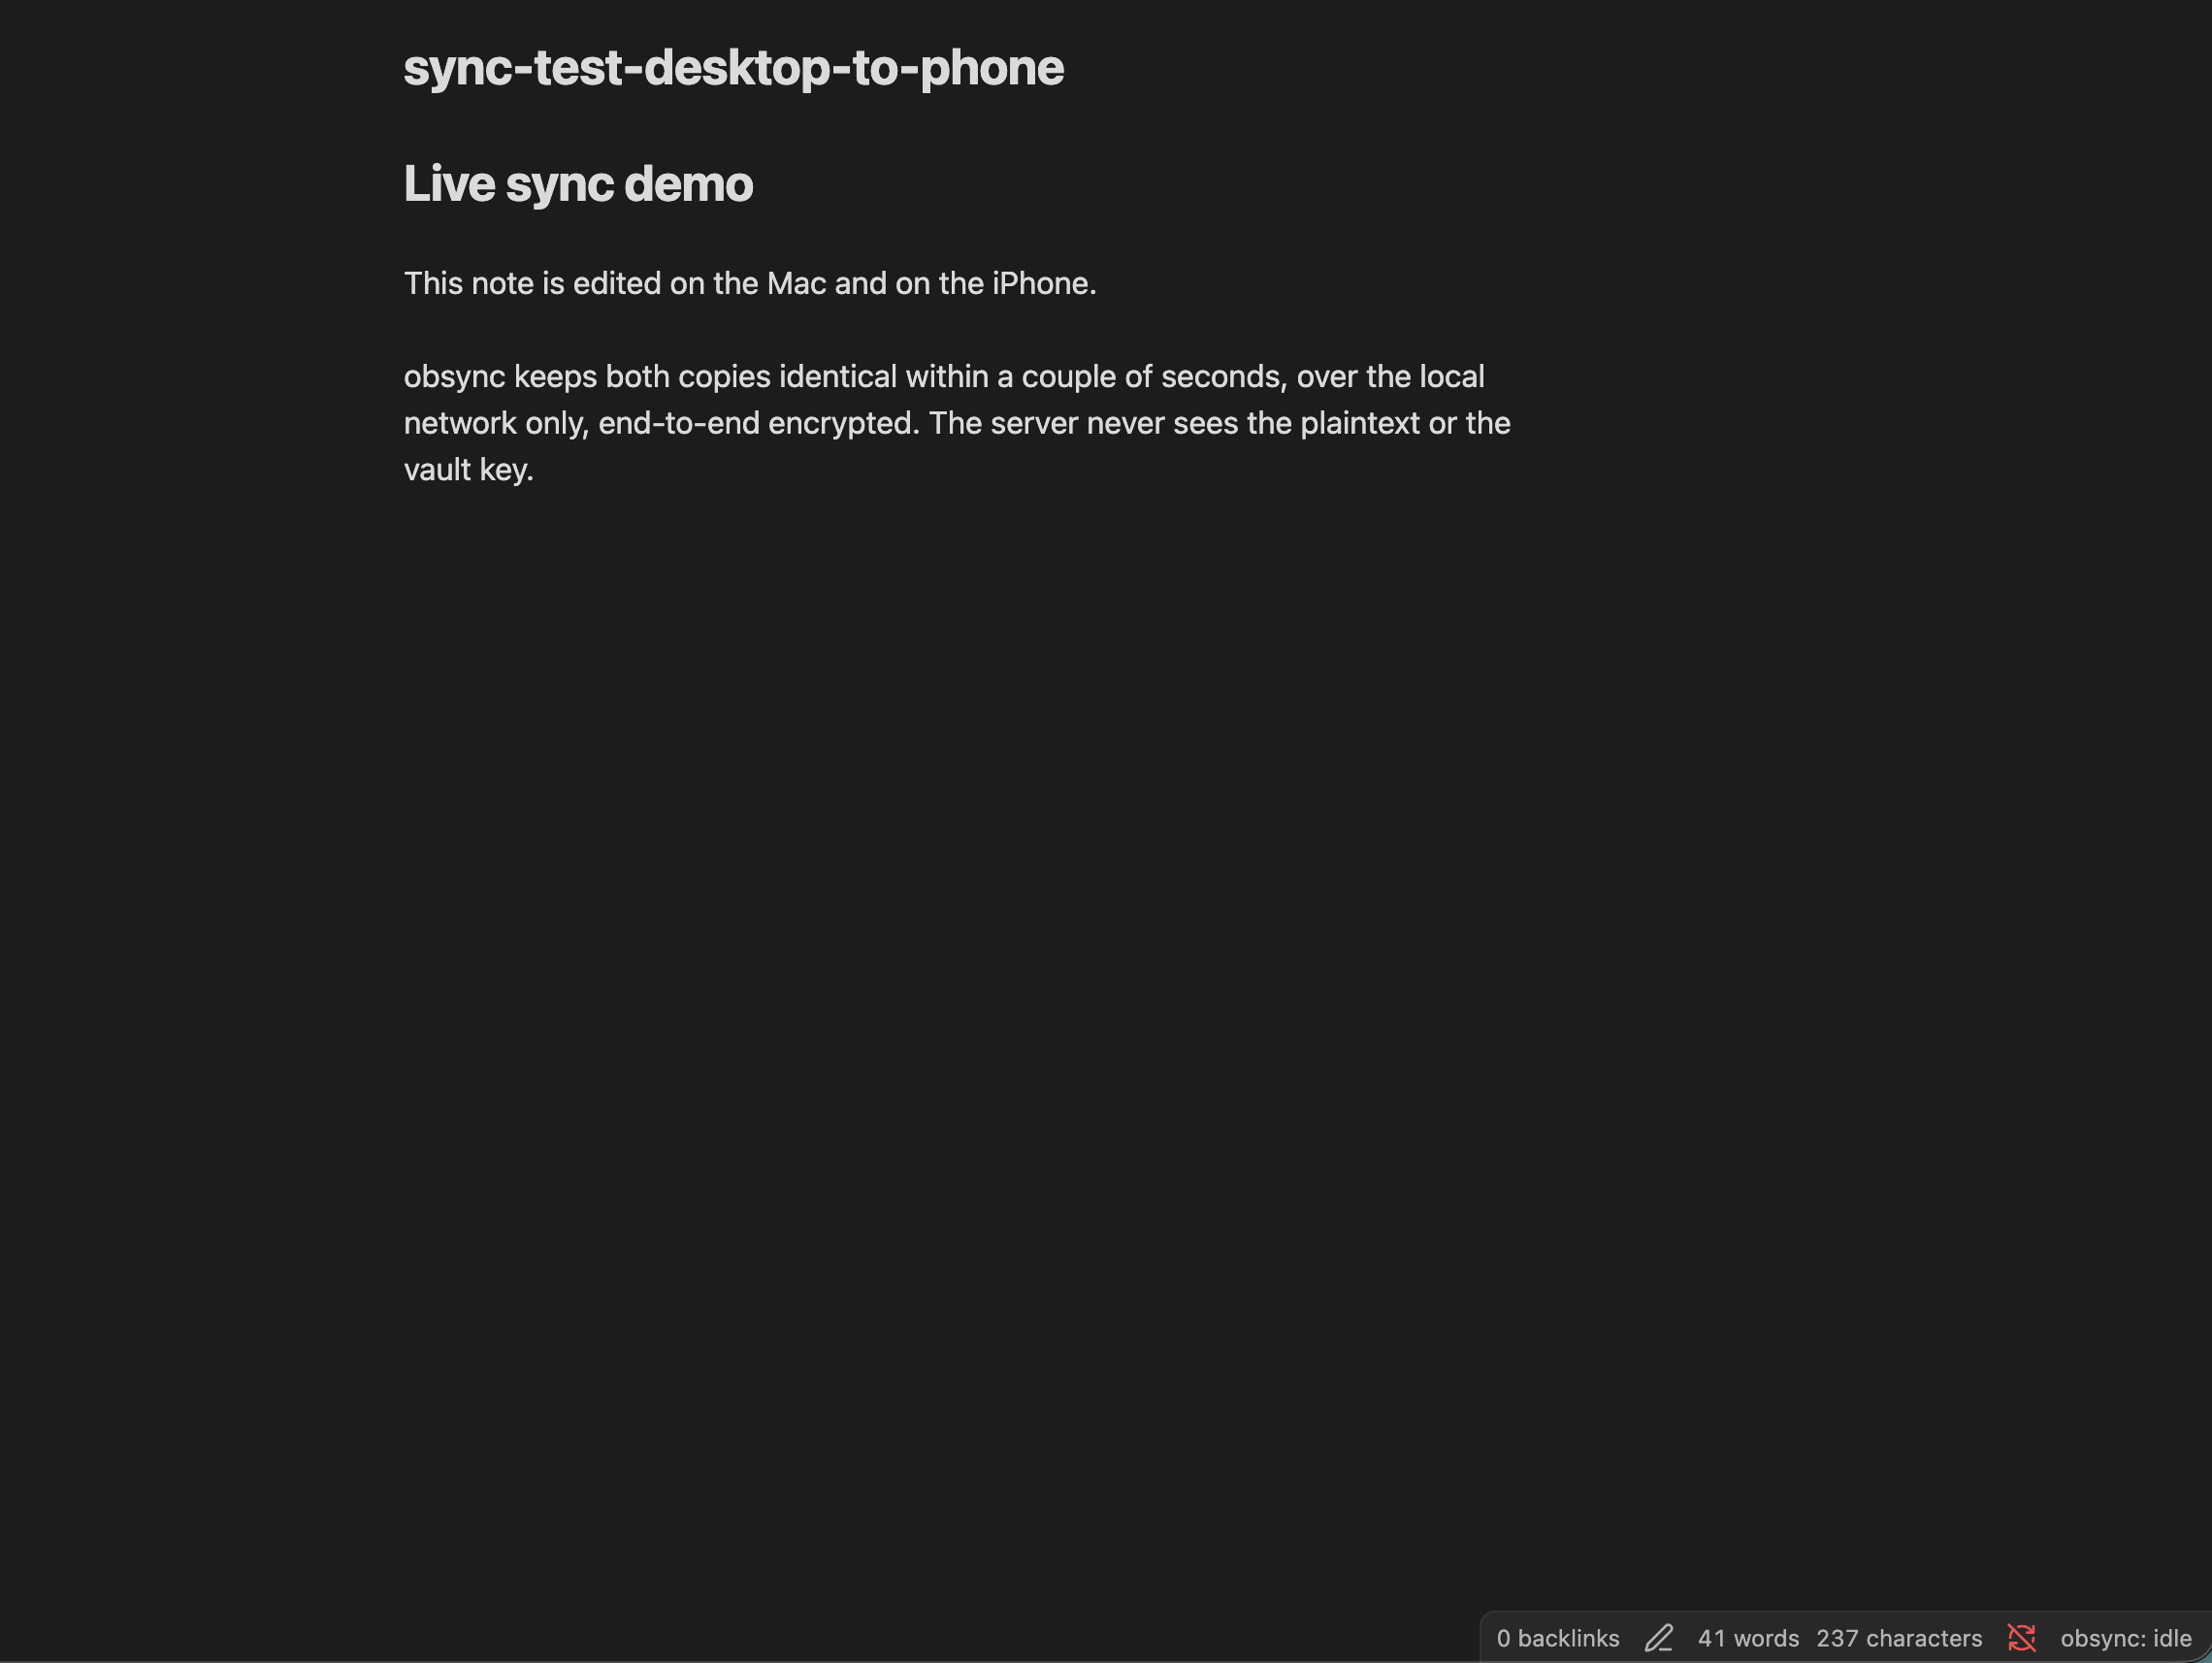
The dashboard's device list and its revoke button are documented under See your devices and were not exercised in the 1.0.0 device run recorded in docs/validation-runs/2026-09-14.md.
Get syncing
Run your own server, then install Self Hosted Private Sync from Obsidian’s Community Plugins browser on each device and pair them. Signing in to Obsidian does not authorize self-hosted sync: pair each device once, then sync runs automatically. The plugin needs an account on your own server. There is no Self Hosted Private Sync subscription or hosted account. Obsidian uses its directory and GitHub to install and update the plugin; encrypted sync uses only the server and optional network provider you configure.
1. Run the server
The server speaks plain HTTP on port 8080 and must sit behind a TLS terminator: Obsidian on iOS and Android refuses plain HTTP. Which terminator is your choice, and it is the one deployment decision that changes who else is on the path:
| Where you put it | Good for | Notes |
|---|---|---|
| LAN or VPN, with a certificate your devices trust | everything, and the right place for a bulk first sync | HTTPS is required on mobile, so the trusted certificate is not optional |
| An HTTPS reverse proxy on hardware you own | a permanent public endpoint | you own the terminator, so you own its terms |
| A tunnel provider on a public hostname | reaching the server with no inbound port | read the provider's terms on sustained large transfers, and do the bulk first sync on the LAN |
A tunnel is one supported transport, not the foundation. Whatever terminates
TLS reads your credentials -- the device secret at pairing, the dashboard
session cookie -- and never your notes: every chunk and manifest is encrypted
on the device, and no key that decrypts them ever crosses the wire
(docs/architecture.md section 2.1). "Files of any size" is a promise about
this server; a provider on the path has its own terms.
Deploy by digest, never by tag. The image and chart are signed keyless by
this repository’s publisher. New releases carry
obsync-X.Y.Z-release-manifest.json, which names their digests and the
SHA-256 of the plugin bundle and each native installation file. Verify the signature with cosign, read the digest from the verified
payload (it must match the manifest on the Release page), and run exactly
that digest:
cosign verify ghcr.io/snaraj/obsync:v0.1.0 \
  --certificate-identity https://github.com/snaraj/obsync/.github/workflows/release-publisher.yml@refs/heads/main \
  --certificate-oidc-issuer https://token.actions.githubusercontent.com

docker volume create obsync-blobs
docker volume create obsync-journal
docker run -d --name obsync -p 127.0.0.1:8080:8080 \
  -v obsync-blobs:/data/blobs -v obsync-journal:/data/journal \
  -e OBSYNC_BLOBS_CAPACITY=250GiB -e OBSYNC_JOURNAL_CAPACITY=4GiB \
  -e OBSYNC_PUBLIC_URL=https://sync.example.org \
  ghcr.io/snaraj/obsync@sha256:<the digest cosign just verified>
On Kubernetes, install the chart with your storage classes, claim sizes, and
a Secret for OBSYNC_SERVER_KEY; the reference deployment (a single-node
cluster on a Raspberry Pi, reached over private connectivity with no public
hostname) is described in docs/platform-onboarding.md and
docs/architecture.md section 10. The server takes ownership of nothing: each volume must be presented owned by uid 65532 and writable by it, or already hold the server's v1, or the start is refused with reason=unwritable. Static local volumes and hostPath directories: create them as 65532:65532, mode 0700, with root-owned, closed parents and no symlink on the path. A dynamic provisioner that presents a root-owned or world-writable volume root: prepare the backing directory once as the node administrator (chown 65532:65532 and chmod 0700), then start. The chart sets no fsGroup, because a group-writable volume is refused (docs/storage.md, "Volume posture").
At first boot the server mints a setup token and writes it, mode 0600 and
never logged, to v1/setup-token on the journal volume. The token creates
the account once, and it then remains the dashboard's recovery sign-in for
the life of the server (docs/architecture.md section 4.5), so keep it
with the same care as the recovery phrase: anyone holding it can sign in to
the dashboard and revoke devices. Read it without any helper image, from the
container's own volume, running or stopped:
docker cp obsync:/data/journal/v1/setup-token - | tar -xO
On Kubernetes, read v1/setup-token from the journal volume on the node
that holds it. The journal volume also carries the journal itself and, when
OBSYNC_SERVER_KEY is not supplied, the generated server key: back it up as
the sensitive volume it is.
GET /readyz answers {"ready":true} once the server is serving.
1b. Any network, no provider: Compose with Caddy
Step 1 assumes you already have a TLS terminator. If you have none -- a LAN, a
Pi or a NUC at home, no account with anybody -- deploy/compose is the whole
deployment: the same digest-pinned server with no published port at all,
and a terminator of your own in front of it.
Verify the signature exactly as in step 1, then, from a checkout of this repository:
OBSYNC_IMAGE=ghcr.io/snaraj/obsync@sha256:<digest> \
  OBSYNC_HOST=sync.example.org \
  OBSYNC_BIND_ADDRESS=192.168.1.10 \
  docker compose -f deploy/compose/docker-compose.yml up -d
OBSYNC_HOST is the name your devices will use, and it needs no public
existence at all: a name in your own DNS, a router entry, or a hosts file is
enough, because it only has to resolve on the networks you sync from -- your
LAN, or a VPN back to it. What it DOES need is HTTPS, without exception:
Obsidian on iOS and Android refuses plain HTTP and the plugin speaks nothing
else. Two ways to get a certificate a phone will accept for a private name,
neither of which needs this server reachable from the internet -- what it IS
reachable from is OBSYNC_BIND_ADDRESS below, not either of these:
- the private authority below, exported once and installed on each device. This is what the compose file does out of the box, and it is the route with no prerequisites of any kind.
- a public certificate issued over DNS-01, where the challenge is
answered by a DNS record instead of by a connection, so the name may resolve
only on your own network. Caddy answers DNS-01 only in a build carrying your
DNS provider's module, which the stock image pinned here does not have: that
is a deliberate substitution of the
caddyimage, not something this file does for you.
A public hostname, a reachable port 80 and 443, or a tunnel provider are one optional way to reach this server from outside your own network. None of them is a requirement, and nothing below assumes them.
OBSYNC_BIND_ADDRESS is the host address ports 80 and 443 are published
on, and it is the answer to a question the two certificate options above do
not touch. The private name and the certificate authority decide what this
service is CALLED and which devices TRUST it; they decide nothing about who
can reach it -- a client from anywhere can pick the name itself and skip
certificate verification entirely. The bind address decides which of this
host's interfaces accepts connections: a bind address limits the destination
interface, not the source. 127.0.0.1 accepts only connections from this
machine, which is what you want when a VPN terminates here or another
reverse proxy sits in front. A LAN address of this host (192.168.1.10)
accepts every connection that arrives at that address, which is your LAN
and also anything routed to it: a VPN that routes into your LAN, another
subnet your router forwards, or a port forward you set up. So a non-loopback
bind assumes three things you own: your router forwards nothing from the
internet to this host on 80 or 443, a host firewall or router policy limits
sources to the networks you intend, and you know which VPNs route into the
LAN. 0.0.0.0 publishes on every interface this host has, and that IS the
decision to expose it wherever the host is reachable -- legitimate behind a
firewall or a NAT you control, and then the firewall is yours to get right.
Compose refuses to start until you have chosen, because there is no value
here that is safe for everybody.
deploy/compose/docker-compose.yml gives the server
OBSYNC_EDGE=none and trusts forwarded addresses only from the compose
network's own range, which is written in that file beside the network it
belongs to. Ports 80 and 443 on the address you chose are the only ones
opened, and OBSYNC_HTTP_PORT and OBSYNC_HTTPS_PORT move that pair of HOST
ports if something on this machine already holds them -- they default to 80 and
443, and the container ports, the certificate and the name never change with
them.
The setup token is read the same way as in step 1, from the container compose created:
docker cp obsync-obsync-1:/data/journal/v1/setup-token - | tar -xO
scripts/ci/compose-smoke.sh brings this exact file up on every pull request
and proves the path end to end: the bind address required before anything
starts, TLS through the proxy, /readyz truthful, the server itself with no
published port, 80 and 443 published on the chosen address and on nothing
else, the token readable, both containers hardened.
Trust the certificate authority, once per device
deploy/compose/Caddyfile issues certificates from an authority Caddy
generates on first start, so nothing needs to be reachable from the internet
and you need no domain. The price is that each device must be told to trust
that authority once -- the Obsidian plugin speaks HTTPS only, and on phones
there is no "continue anyway". Export the root certificate:
docker cp obsync-caddy-1:/data/caddy/pki/authorities/local/root.crt - \
  | tar -xO > obsync-root.crt
Copy obsync-root.crt to each device and install it:
- macOS:
sudo security add-trusted-cert -d -r trustRoot -k /Library/Keychains/System.keychain obsync-root.crt - Windows (an Administrator prompt):
certutil -addstore -f Root obsync-root.crt - Linux (Debian, Ubuntu):
sudo cp obsync-root.crt /usr/local/share/ca-certificates/obsync-root.crt, thensudo update-ca-certificates. On Fedora and its relatives the directory is/etc/pki/ca-trust/source/anchors/and the command isupdate-ca-trust. - iOS and iPadOS: mail or AirDrop the file to the device, open it, then Settings, Profile Downloaded, Install. Trust is a SECOND step and Obsidian fails without it: Settings, General, About, Certificate Trust Settings, and turn the certificate on.
- Android: Settings, Security, Encryption & credentials, Install a
certificate, CA certificate. Android keeps user-installed authorities
separate from the system ones and an app may decline to trust them; if
Obsidian on Android refuses to connect, that is what happened, and the
answer is the public-ACME block documented in
deploy/compose/Caddyfile-- a real domain, ports 80 and 443 reachable, and a certificate every device already trusts. Nothing else changes.
2. Set up this computer (the first device)
Use Obsidian 1.12.4 or newer on each device. Credentials and vault keys use Obsidian's native secret storage; unavailable storage stops setup and sync.
- In your vault, open Settings → Community plugins and allow community plugins. Select Browse and search for Self Hosted Private Sync.
- Select Install, then Enable. If Self Hosted Private Sync is not in Browse, its directory listing is not yet available. No hidden folders or manual file copies are part of installation.
- Open the Self Hosted Private Sync settings tab. Set Server URL to your public URL. If an
access-controlled edge sits in front of the server, paste its headers
under Edge service-token headers, one per line as
Name: value. - Under Sync folders on this device, choose Selected folders only
if the vault also contains code or files you do not want shared. Enter
relative folders such as
Notes, one per line, and click Save on this device before setup or pairing. An empty selected list syncs no files; Whole vault retains the existing default. Select the final folders now: after sync has history, the selection may only narrow. To stage a first sync within one vault, keep personal files in an excluded folder, test disposable notes inside the selected folder, then move the personal files in and run Sync now. - Under First-time setup, paste the setup token. The plugin creates the account and this device, generates the vault key on this computer, and shows the recovery phrase (24 words). Write it down and keep it off this machine: without any paired device and without this phrase, the vault is unrecoverable by design. The server never sees the key.
- Sync starts. The status bar shows the state; the command Sync now forces a pass, and Show sync status explains what it is doing.
Existing installations migrate their own credentials before removing them from plugin data. Keep the vault and recovery phrase intact if a storage error appears. Check Obsidian's secret storage and reload; do not delete the credential reference or repeat server setup. A partially enrolled device still needs approval before an existing recovery phrase can restore sync. A pending pairing dialog does not resume after app restart. Secret storage is shared with other trusted plugins in that vault and is not an OS or plugin isolation boundary. Native restart persistence is a separate validation step.
3. Pair your phone
- In the phone's local vault, install and enable Self Hosted Private Sync through Settings → Community plugins → Browse. Set the same Server URL and connect to its private network if needed. The server must provide HTTPS trusted by the phone. Choose and save this phone's folder selection before pairing; the selection is local and is not copied by the pairing code. Files keep their relative folder names.
- On the computer, run the command Pair a new device (also a button in
the settings tab). It shows a one-time pairing code, valid ten minutes, and
an
obsidian://obsync-private-sync/pair?code=...link you can send yourself. - On the phone, paste the code under Pairing code and tap Pair this device, or open the link.
- Back on the computer, approve the device by its name when asked. The phone receives the vault key encrypted under a pairing secret that never touches the server; until you approve, the phone has no authority of any kind.
- Edit a note on the phone. It appears on the computer within seconds, and the other way round. That is the whole loop.
4. See your devices
On any paired computer, run Open dashboard: it mints a one-time sign-in link to the dashboard, where you see every device (type, address, country, last sign-in, last edit), storage per volume, scrub and garbage-collection state, and installation guidance. Revoke a lost device there or from the Devices list in the plugin settings.
Commands and the status bar
Every command is under Self Hosted Private Sync in the command palette
(plugin/src/main.ts):
| Command | What it does |
|---|---|
| Sync now | Forces one pass instead of waiting for the watcher |
| Show sync status | What the engine is doing, and why it is not doing more |
| Pair a new device | Mints a one-time pairing code on this device |
| Show recovery phrase | Re-displays the 24 words, from this device's own key |
| Restore from history | Browses retained versions and restores one as a copy |
| Show remote-only files | Lists files above this device's ceilings, to fetch on demand |
| Open dashboard | Mints a one-time dashboard sign-in link |
The status bar reads obsync: not paired before pairing, then obsync: idle,
obsync: syncing <n> while n files are in flight, obsync: offline when the
server is unreachable, and obsync: error — <reason> when sync has stopped.
If something looks wrong
- The status bar says
offline. The device cannot reach the server: check the URL in settings, the certificate, and the private network if the deployment needs one. Mobile Obsidian refuses plain HTTP entirely. - Sync stopped with an error. The plugin stops rather than guessing. The
message names the cause;
Show sync statusrepeats it. Credential-storage failures are covered in installation trust and distribution. - A file is not syncing. Hidden folders (
.obsidian,.git), symlinked folders, and anything outside this device's folder selection are excluded by design — see What syncs and what does not below. - A large file did not arrive on a phone. It is above that device's
ceiling and is listed under
Show remote-only files, to fetch on demand. - The server refuses to start or reports
not_ready. The volume posture and every refusal it can raise are indocs/storage.md; the protocol is indocs/protocol.mdand the design indocs/architecture.md.
What syncs and what does not
- obsync syncs one person's vault across their own devices. Every device you
pair has owner access; the current runtime has no recipient role. Giving anyone else
access to part of a vault is phase 2 work, gated on the acceptance
criteria in
docs/architecture.mdsection 5. - Hidden folders (
.obsidian,.git) and symlinked folders are not synced in either direction. - A saved folder selection limits obsync's reads, writes and deletions on this device. Narrowing keeps excluded local files and server history. It does not sandbox Obsidian or other plugins, or revoke a paired device's access to content already shared. Keep administration code outside selected folders. Expansion of a used device's selection is refused; moving local files into an already selected folder and running Sync now is the supported way to add content within the same vault.
- On phones, files above Largest file to download (512 MiB by default) stay on the server and are listed by Show remote-only files for on-demand fetch; Total to keep on this device defaults to 50 GiB. Both are settings. Computers have no ceiling.
- Every edit is kept as a version for 30 days and at least the last 10 versions per file; conflicts never discard an edit (text merges cleanly or you get a conflict copy).
- Update through Settings → Community plugins → Check for updates on each device. The plugin never installs code from the sync server. See installation trust and distribution.
Restore a retained version
Open Self Hosted Private Sync: Restore from history in the command palette. Optionally enter part of a filename, select Restart search, then Load next. Versions appear oldest first, including retained content of deleted notes. Each click checks at most 20 records; an empty filtered page can still have more history after it. Select Restore a copy on a content version to create a uniquely named sibling inside the currently selected folder. Deletion markers themselves contain no file bytes.
The original file, unsynced edits and original history remain unchanged. The notice first confirms a local copy and requests ordinary sync; check sync status for upload failures. Device size/budget limits apply to the additional copy. Desktop streams into a temporary file and publishes only to an unoccupied name; a filesystem without that primitive is refused. Mobile buffers the verified file and uses Obsidian's create-only API.
Cancel prevents later work, but Obsidian cannot abort a network request or local create already dispatched. A late create may finish; check any copy path named in an error before retrying. The network API buffers responses before a size check is possible. Reopening history does not start another manual request until the outstanding one settles. These are platform limits, not a claim of power-loss or real-device validation.
What it does
- Syncs a vault across every Obsidian platform (macOS, Windows, Linux, iOS, iPadOS, Android) through a plugin that talks to your own server.
- Encrypts every chunk and every manifest on the device. The server stores ciphertext only and never learns the vault key or a single file name.
- Handles large files by content-defined chunking with resumable, deduplicated uploads: a 100 GB video and a 2 KB note follow the same path.
- Keeps versions and never silently discards a conflicting edit.
- Ships a dashboard: account, devices (type, address, country, last sign-in, last edit), storage per volume, scrub and garbage-collection status, pairing, and plugin install.
- Runs as one static binary: Docker, Kubernetes (Helm chart included), or a bare host.
Layout
| Path | Contents |
|---|---|
crates/obsync-core |
Homegrown primitives: SHA-256, HMAC, HKDF, CRC32, encodings, JSON, HTTP/1.1 |
crates/obsyncd |
The server: storage engine, journal, sync API, dashboard, CLI |
plugin/ |
The Obsidian plugin (TypeScript, WebCrypto, no runtime dependencies) |
dashboard/ |
Static dashboard assets embedded into the server |
chart/ |
Helm chart |
bench/ |
Benchmark harness; LiveSync is the reference to beat |
docs/ |
Architecture, protocol, storage, threat model, validation, onboarding |
Start with AGENTS.md (the contract) and
docs/architecture.md.
License
MIT. See LICENSE.