Image Embed Kit
 visitor20 downloads
Resize embedded images with side handles, zoom in, and save captions in your notes.
- Overview
- Scorecard
- Updates5
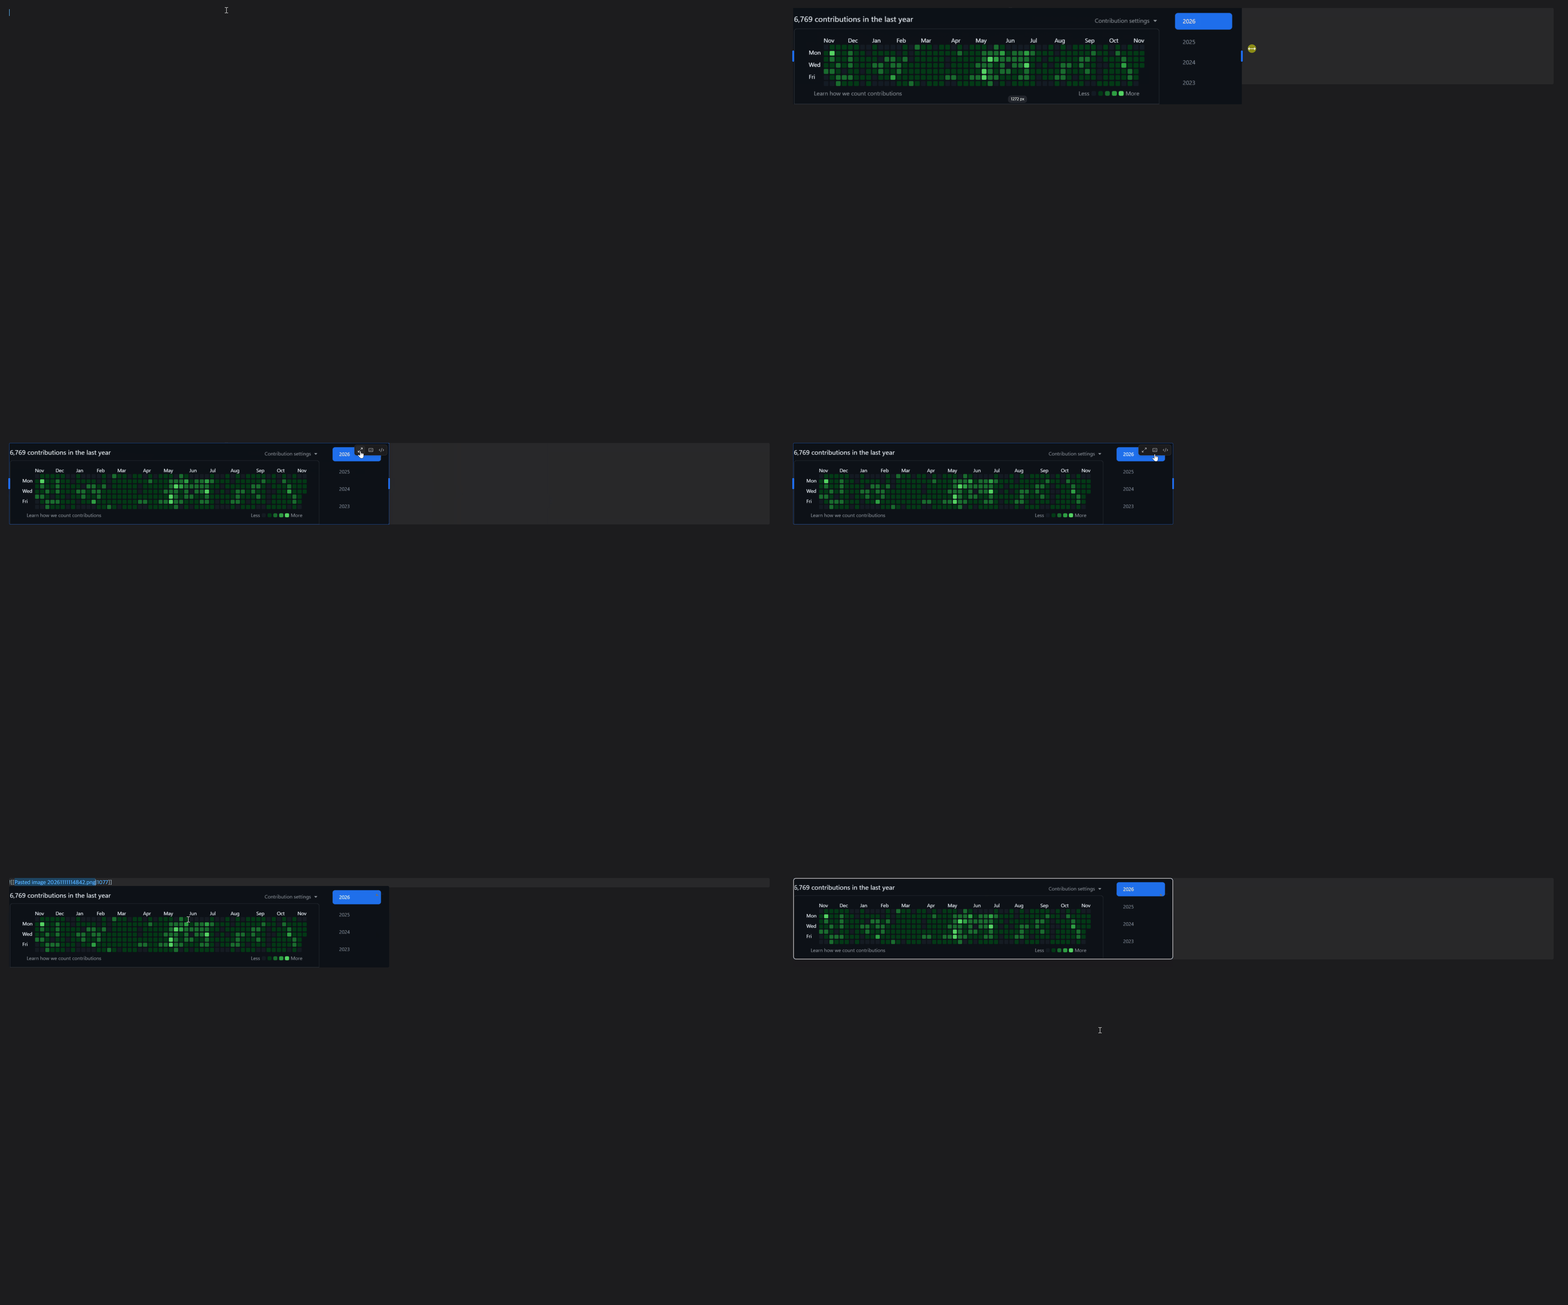
Resize a local image, open it at full size, or add a caption directly in an Obsidian desktop note. If a photo appears twice in the note, each copy can have its own width and caption. The original image file keeps its resolution. 한국어 사용법
Installation
Image Embed Kit requires Obsidian desktop 1.12.4 or later.
- Download
main.js,manifest.json, andstyles.cssfrom the same GitHub release. - In your vault, create the folder
.obsidian/plugins/image-embed-kit/and put all three files in it. - In Obsidian, open Settings → Community plugins, enable community plugins if prompted, refresh the installed plugins list, and turn on Image Embed Kit.
Usage
Embed a vault image in a note, for example ![[photo.png]]. In Reading view or Live Preview, hover over the image or click it once to reveal the toolbar.
- Resize by dragging either side handle. To set an exact width in pixels, open the captions button (너비와 캡션 편집). Clear the width field to restore automatic sizing.
- Add a caption in the same dialog and choose 저장 (Save). You can hide a caption and restore it later, or clear the text to remove it.
- Zoom by double-clicking the image or using the expand button (확대보기). The viewer shows the original dimensions and offers zoom, 100%, and fit to screen. Press Esc or click the backdrop to close it.
- Edit the embed link in Live Preview with the code button (이 블럭 수정). For keyboard access, use the command palette and choose Image Embed Kit: 노트 이미지 선택 to find an image by file name, caption, or line number.
- Right-click an image in Reading view or Live Preview to open its image and file actions. In Reading view, choose Remove image to remove just the selected embed and keep the attachment.
- Delete the image file by choosing Delete image or by clicking the image once and pressing Delete in either view. Both use Obsidian’s file deletion settings, including the confirmation prompt and trash location. Deleting the file removes the selected embed. Captions remain as note text, and other links to the file will point to a missing attachment.
- Write below an image in Live Preview by clicking it and pressing Enter. The cursor moves to a new line below the image and its caption. For an inline image, the new line starts below the current line of text.
Supported images
Both wiki embeds such as ![[photo.png|320]] and Markdown embeds such as  are supported. Width is stored in the link. A visible caption is stored as italic Markdown next to the embed, so it stays readable when the plugin is disabled. Editing the width or caption preserves alt text and link titles.
The toolbar works on local images in the body of a note. Remote URLs, table cells, images inside embedded notes, and mouse controls in Source mode are outside its scope.
Development
npm ci
npm test
npm run build
To verify a downloaded release file against the build signed by GitHub Actions, run gh attestation verify main.js --repo visitor17564/image-embed-kit from the download folder. The same command accepts manifest.json and styles.css. Attestations are available starting with 0.1.2.