Laser Pointer
 Alessandro Vettorel61 downloads
A glowing laser pointer that follows your cursor and draws trails that fade away after a set duration.
- Overview
- Scorecard
- Updates3
Author: Alessandro Vettorel
Version: 1.0.2
For: Obsidian (min. v1.13.0)
🎯 What it does
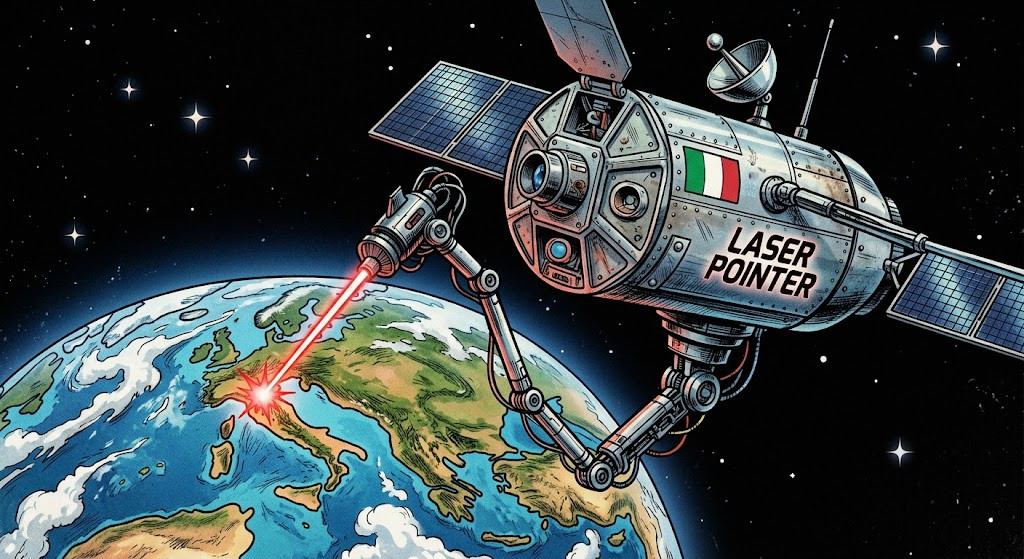
Laser Pointer is an Obsidian plugin designed for anyone who shares their screen, teaches, presents, records videos, or simply wants to highlight and guide attention to content inside their notes.
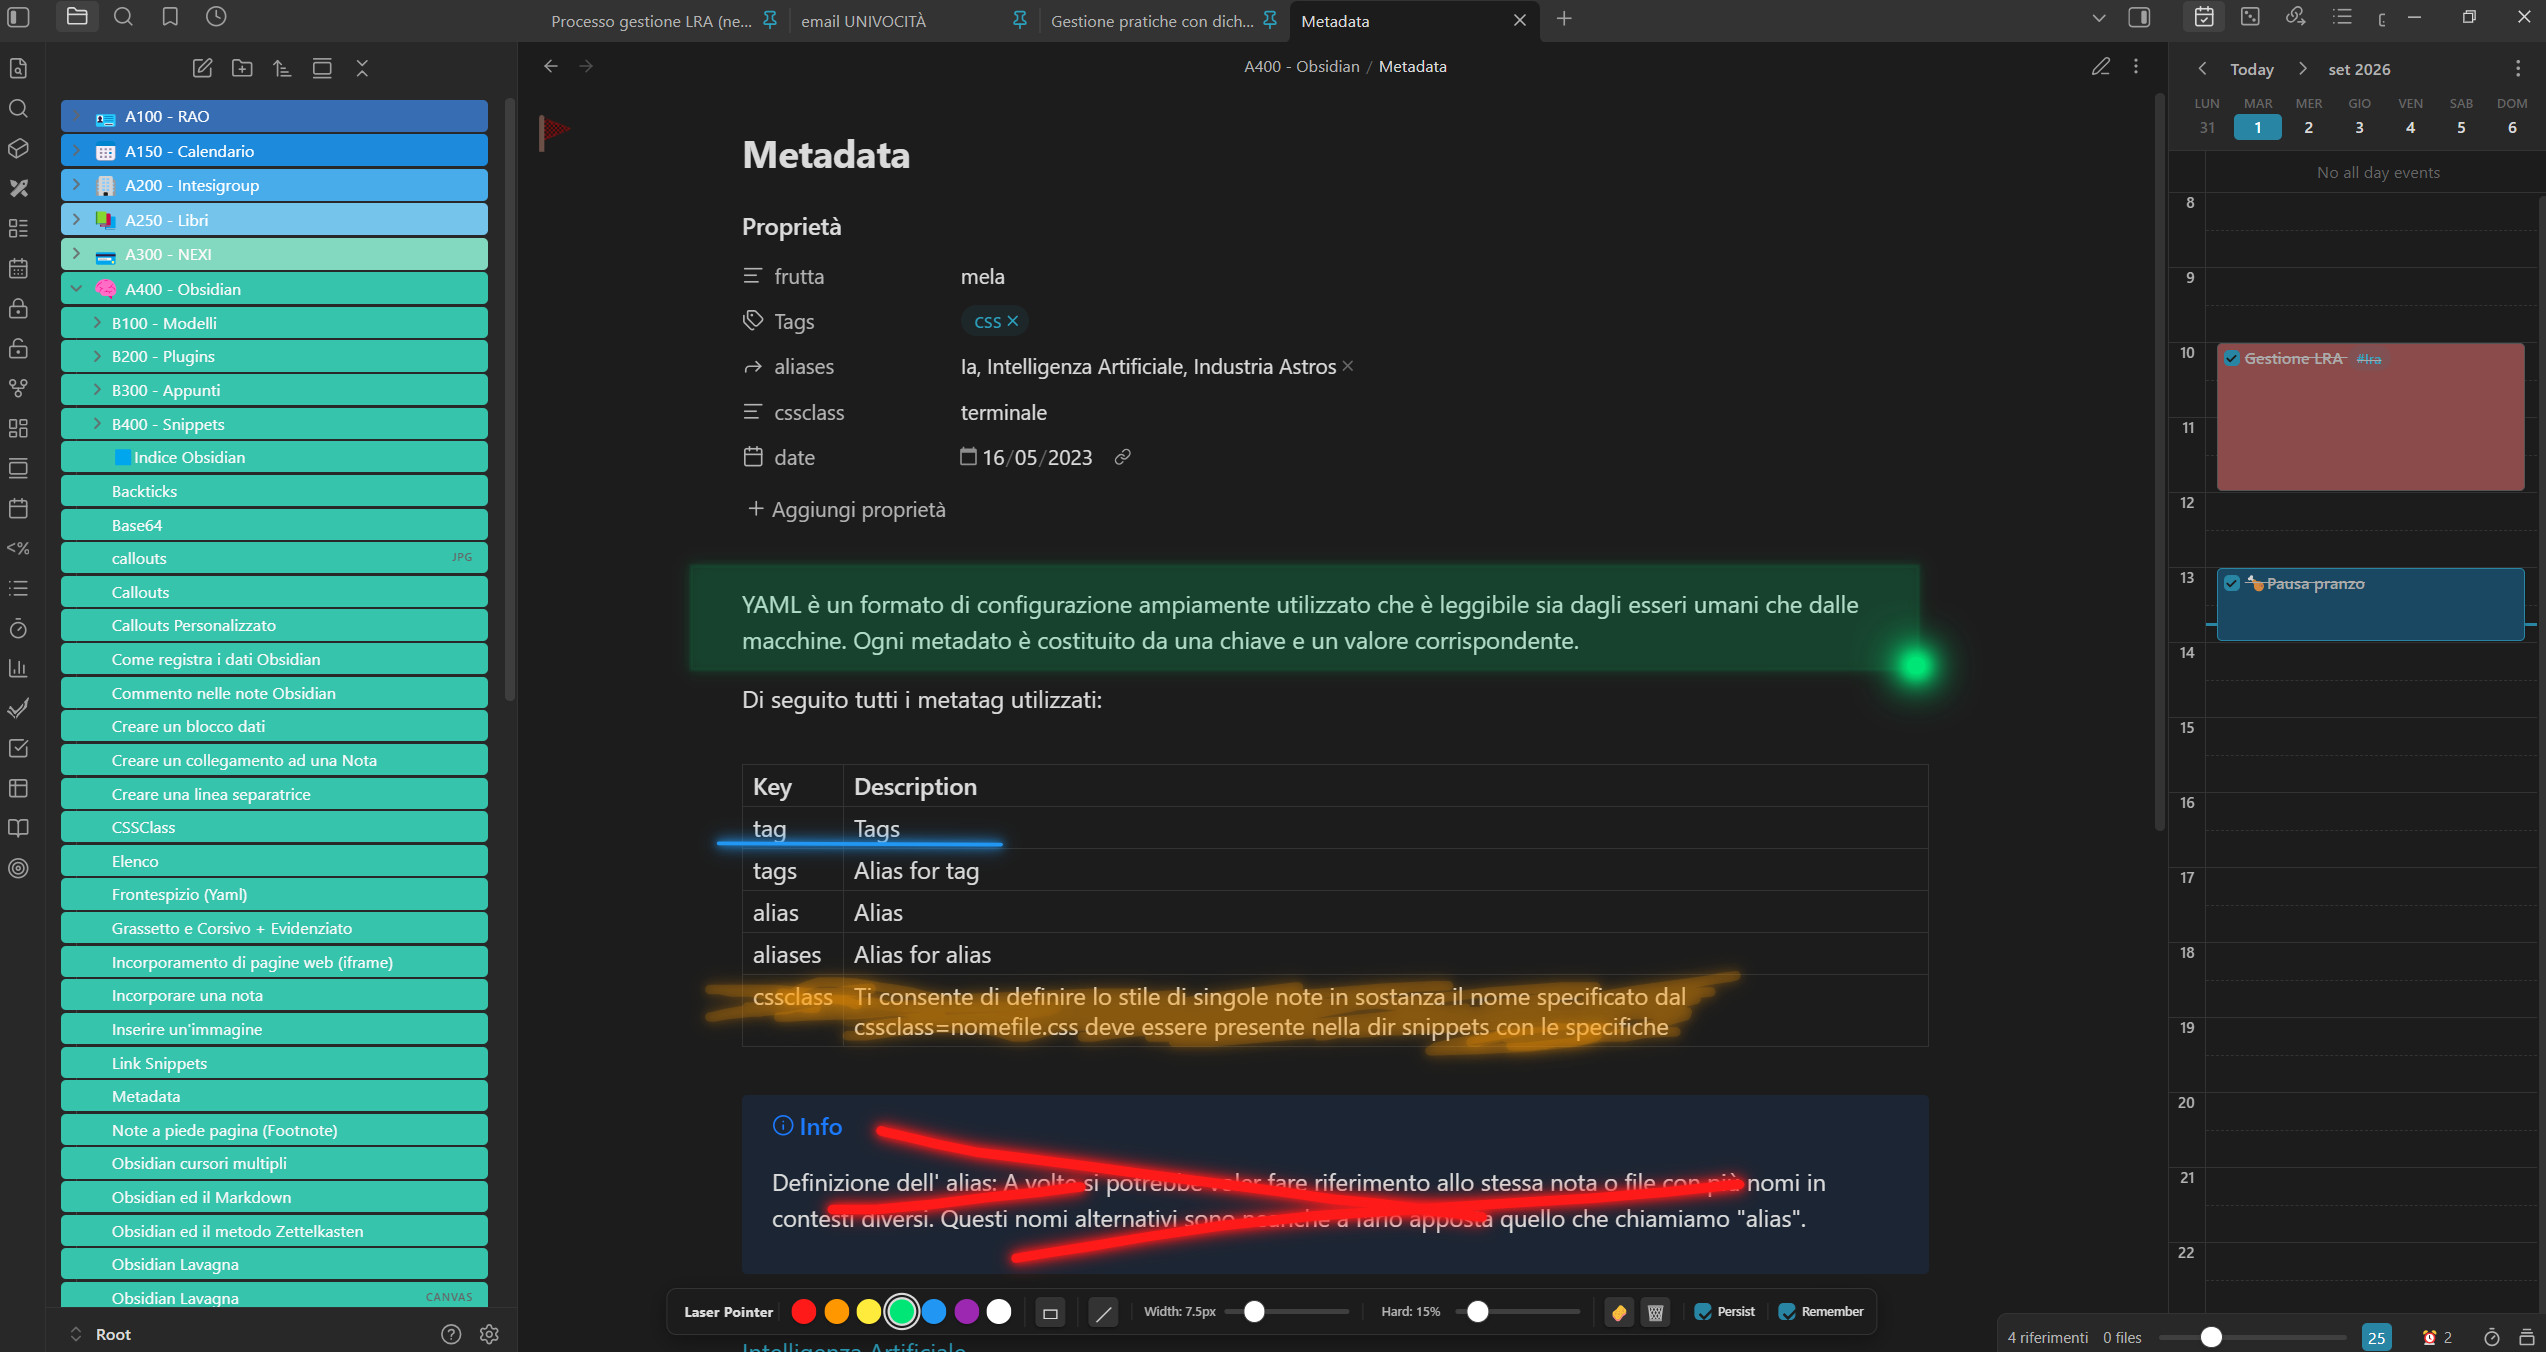
When you are on a call, recording a tutorial, or showing your vault to someone, the laser pointer lets you:
- Highlight words, sentences, and key concepts with a glowing dot
- Draw lines to connect ideas, circle important elements, or underline text
- Guide the viewer's eye without the native mouse cursor getting in the way
- Annotate freely with persistent or auto-fading trails
- Save and resume your drawings across laser sessions
It is your virtual laser pointer, right inside Obsidian.
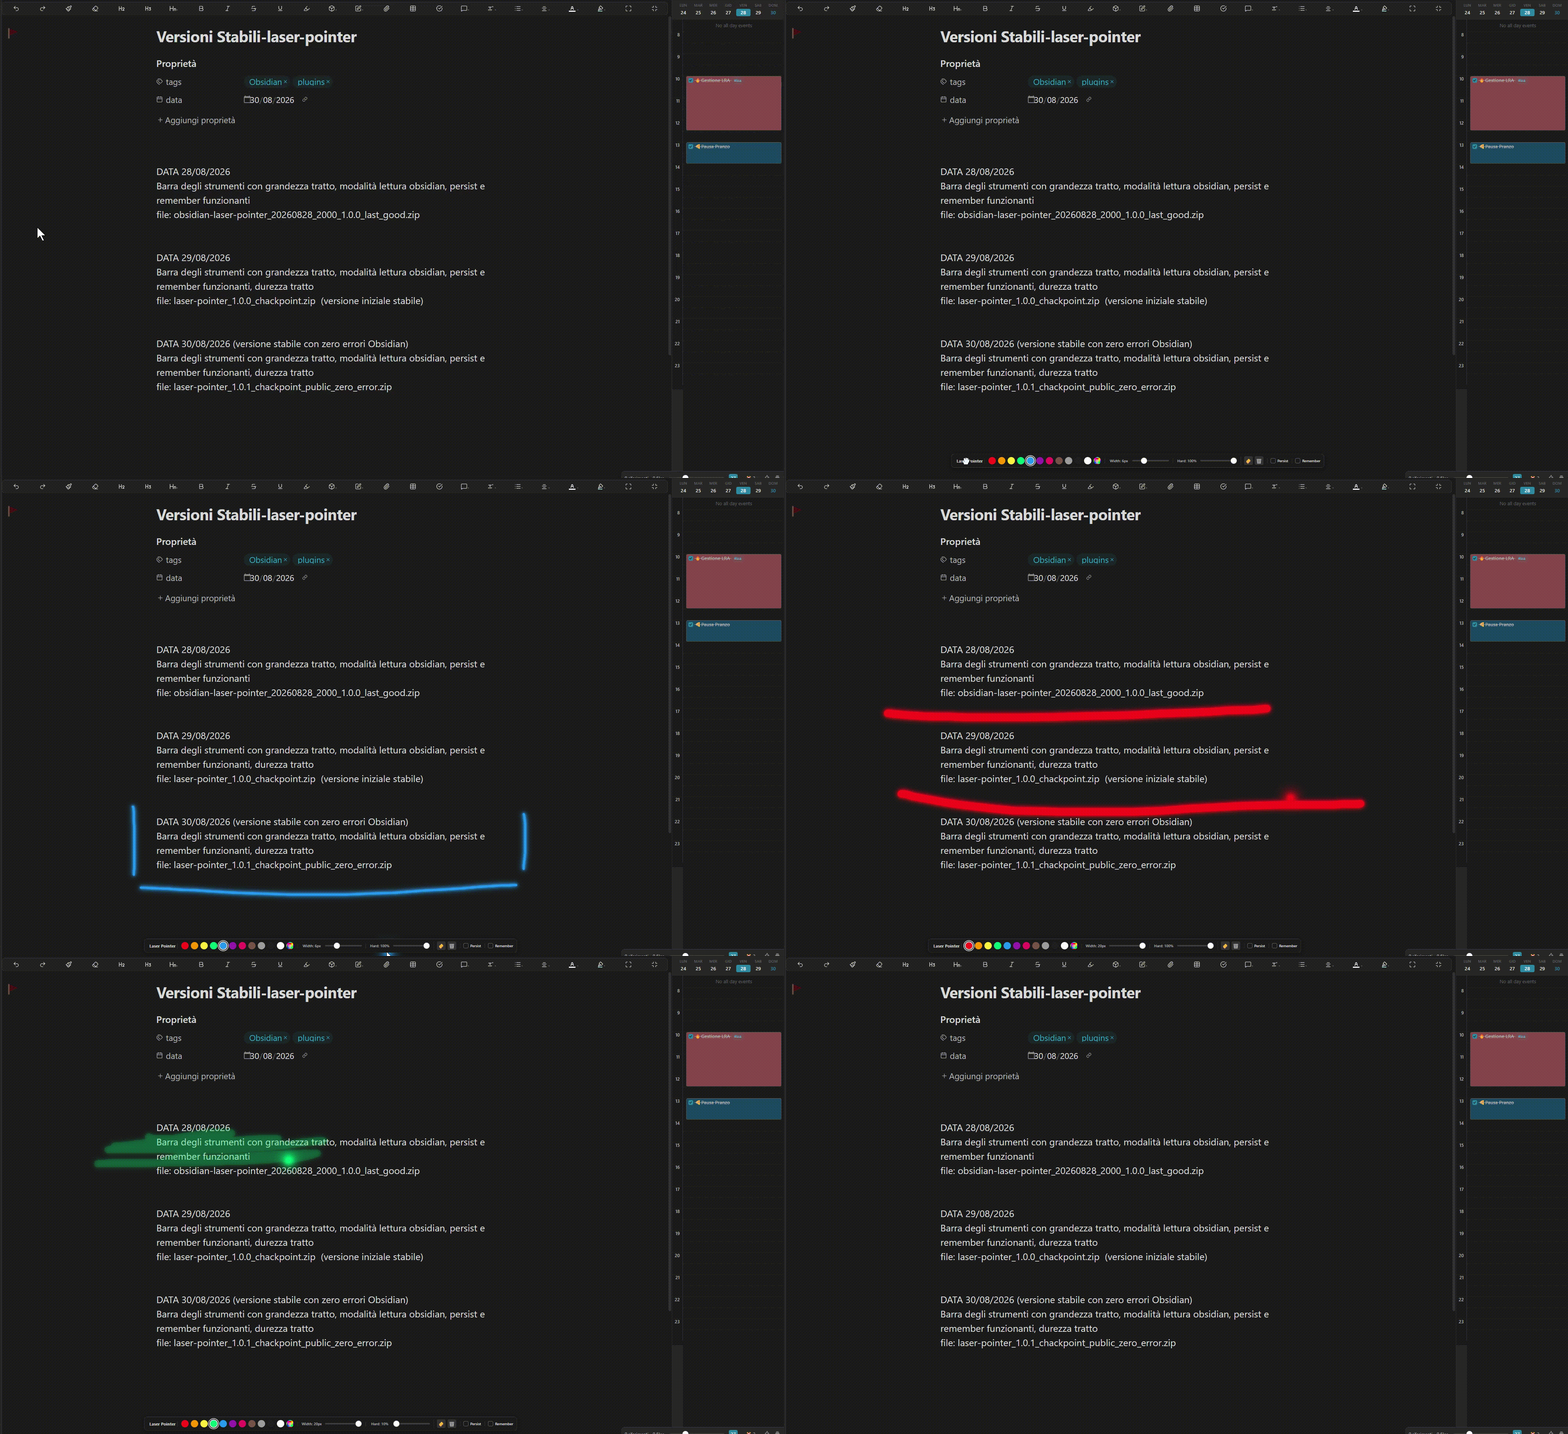
🎬 Demo
✨ Features
1. Glowing laser pointer
A bright, colored dot follows your mouse everywhere. The system cursor is automatically hidden, leaving only the laser visible — clean, professional, and distraction-free.
2. Draw trails on the fly
Hold down the left mouse button and move: you draw a glowing line that follows your path. Perfect for:
- Underlining text
- Circling concepts
- Tracing connections between ideas
- Highlighting areas of the interface
The text underneath is never selected while you draw, so your notes stay clean.
3. Self-fading trails
Release the left button and the line stays visible for a configurable duration, then fades away slowly with an elegant fade effect. No manual cleanup needed.
4. Persist trails mode
Enable "Persist" from the floating toolbar. When active, every line you draw stays on screen permanently until you exit laser mode. Ideal for building up a full diagram, annotation layer, or complex illustration during a presentation.
5. Remember drawings
Enable "Remember" from the floating toolbar or settings. When active, all your drawn trails are saved when you exit laser mode and automatically restored when you re-enter. Perfect for resuming a presentation or tutorial without redrawing everything.
6. Auto reading mode
When activated, the plugin can automatically switch the current note to reading mode so you can draw freely without entering edit mode. When you turn the laser off, the original mode is restored.
7. Quick deactivation
Turn the laser off instantly using any of these methods:
- Right-click anywhere on the screen
- Press the ESC key on your keyboard
- Click the 🎯 icon in the sidebar
No need to hunt for buttons when you are done.
8. Floating toolbar (draggable & customizable)
When the laser is on, a compact horizontal toolbar appears at the bottom center of the screen. You can drag it anywhere by grabbing the header. It gives you instant access to all controls without opening Settings.
You can also customize which controls appear on the toolbar from Settings, making it as minimal or as complete as you like.
9. Customizable preset colors
Switch colors instantly from the toolbar. Out of the box it ships with 11 presets: 🔴 Red · 🟠 Orange · 🟡 Yellow · 🟢 Green · 🔵 Blue · 🟣 Purple · 🩷 Pink · 🟤 Brown · ⚪ Gray · ⚫ Black · ⬜ White
These are just the defaults — go to Settings → Preset colors to add, remove, or recolor entries. The toolbar always shows exactly the colors listed there: keep only 4 if that's all you need, or add as many as you like. A Reset to default colors button brings back the original 11 at any time.
10. Custom color picker
Click the 🎨 button on the toolbar to open the browser's native color picker and choose any color you want.
11. Adjustable trail width
Move the Width slider on the toolbar to change the stroke thickness on the fly — from an ultra-thin hairline (0.5 px) up to a bold, heavy stroke (40 px).
12. Stroke hardness (opacity)
Move the Hardness slider to control how opaque or transparent the trail is:
- Low → faint, semi-transparent line (delicate highlights)
- High → solid, bold stroke (strong markers)
13. Rectangle tool
Click the ▭ button on the toolbar to switch from freehand trails to a draggable rectangle: click and drag anywhere to draw a rectangle from corner to corner. It follows the same color, width, hardness, and persist/fade behavior as regular trails. Click ▭ again (or enter eraser mode) to go back to freehand drawing.
14. Straight line tool
Click the ╱ button on the toolbar to switch to the straight line tool: click and drag to draw a perfectly straight segment from the starting point to wherever you release the mouse. It follows the same color, width, hardness, and persist/fade behavior as regular trails. Click ╱ again (or enter eraser mode) to go back to freehand drawing. Like the rectangle tool, it's mutually exclusive with the rectangle tool — turning one on turns the other off.
15. Filled or outline rectangles
The ⬜ / 🔳 button sits right next to the rectangle tool button and only appears on the toolbar while the rectangle tool is active. It switches new rectangles between filled and outline-only, can be flipped at any time, and the current choice is also saved as the default in Settings. Like every other control, it can be hidden from the toolbar via Toolbar visibility in Settings (it also requires the rectangle tool button itself to be enabled there).
16. Eraser mode
Click the 🧽 button to enter eraser mode. The pointer changes to a ring cursor. Click on any existing trail, rectangle, or line to delete it individually. Click 🧽 again to return to drawing mode.
17. Clear All
Click the 🗑️ button to delete all drawn trails, rectangles, and lines instantly — both persistent and saved ones.
18. Full settings panel
Go to Settings → Community Plugins → Laser Pointer to set your defaults:
- Laser color — default color of the pointer and trails
- Trail width (px) — default stroke thickness (0.5 to 40 px)
- Stroke hardness — opacity of the trail (5% to 100%, in 5% steps)
- Trail duration (seconds) — how long trails stay visible before fading (1 to 10 seconds)
- Persist trails — when on, trails remain until laser mode is exited
- Remember drawings — when on, trails, rectangles, and lines are saved and restored across sessions
- Auto reading mode — automatically switch to reading mode when laser is on
- Rectangles filled by default — whether the rectangle tool starts filled or outline-only
- Preset colors — add, remove, or recolor the dots shown on the toolbar; starts out matching the 11 built-in colors, with a button to reset back to them
- Toolbar visibility — choose exactly which controls appear on the floating toolbar
All settings are saved automatically.
🚀 Installation
Manual
- Extract the package into a folder on your computer.
- Open a terminal in that folder and run:
npm install npm run build - Copy the generated files
manifest.json,main.js, andstyles.cssinto:
inside your vault..obsidian/plugins/laser-pointer/ - In Obsidian, go to Settings → Community Plugins, find Laser Pointer, and enable it.
Via GitHub Releases (recommended)
Download the latest release from the GitHub releases page and extract the three files (main.js, manifest.json, styles.css) into .obsidian/plugins/laser-pointer/.
🎮 How to use
| Action | Result |
|---|---|
| Click the 🎯 icon in the sidebar | Toggle laser on / off |
Ctrl+P → "Laser Pointer" |
Toggle from the Command Palette |
| Move the mouse | The laser dot follows you |
| Hold left mouse button | Draw a glowing trail |
| Release the left button | Trail fades after X seconds (or stays if Persist is on) |
| Right-click anywhere | Instantly turn the laser off |
| Press ESC key | Instantly turn the laser off |
| Drag the toolbar header | Move the floating toolbar anywhere |
| Click a color dot on the toolbar | Change laser color instantly |
| Click 🎨 on the toolbar | Open the full color picker |
| Move the Width slider on the toolbar | Adjust trail thickness live |
| Move the Hardness slider on the toolbar | Adjust trail opacity live |
| Click ▭ on the toolbar | Switch between freehand trails and the draggable rectangle tool |
| Click ╱ on the toolbar | Switch between freehand trails and the straight line tool |
| Click ⬜ / 🔳 on the toolbar | Switch new rectangles between outline-only and filled |
| Check "Persist" on the toolbar | Trails stay until you exit laser mode |
| Check "Remember" on the toolbar | Trails are saved and restored across sessions |
| Click 🧽 on the toolbar | Enter eraser mode — click trails to delete them |
| Click 🗑️ on the toolbar | Delete all trails at once |
💡 Use cases
- Teaching & tutorials — guide students to key concepts in your notes
- Work calls — show colleagues exactly what you are referring to
- Video & screen recordings — make your explanations clearer and more dynamic
- Presentations — replace a physical laser pointer, directly inside your vault
- Code / note reviews — highlight bugs, tasks, or ideas to remember
- Diagramming on the fly — enable Persist + Remember to sketch full diagrams that survive across sessions
- Live annotation — underline, circle, and connect ideas in real time
📝 Technical notes
- The plugin uses an SVG overlay with
pointer-events: none, so it does not interfere with normal Obsidian use (clicking links, selecting text, using menus…) - The mouse cursor is hidden only while the laser is active
- Obsidian's context menu is temporarily disabled in laser mode to allow quick right-click deactivation
- Drawing calls
preventDefault()so text underneath is never selected while you trace - The floating toolbar ignores laser drawing events — you can click its buttons safely
- The laser pointer is hidden while dragging the toolbar to avoid visual clutter
- When Persist trails is enabled, all trails are automatically cleared when laser mode is exited (unless Remember drawings is also on)
- Remember drawings saves trail geometry, color, width, opacity, and glow data to disk and restores it on re-entry
- The eraser mode temporarily enables
pointer-events: autoon the SVG overlay to allow trail selection - Auto reading mode saves the original view state (source/preview) and restores it on deactivation
📋 Changelog
1.0.2
- Customizable preset colors — add, remove, or recolor the dots shown on the toolbar from Settings; starts out matching the built-in colors, with a button to reset back to them
- Rectangle tool with a filled/outline toggle
- Straight line tool
- Lower stroke hardness floor — the hardness slider now goes down to 5% in 5% steps (previously 10% in 10% steps)
- Minimum Obsidian version raised to 1.13.0 (from 1.0.0), required by the declarative settings list used for the new preset color editor
1.0.1
- Preset colors — 11 fixed color dots on the toolbar
- Persist trails — trails can stay on screen until laser mode is exited instead of always fading
- Remember drawings — trails, rectangles, and lines can be saved on exit and restored on re-entry
1.0.0
- Freehand trail drawing that fades after a set duration
- Floating toolbar
- Eraser mode
- Clear All button
📄 License
MIT